![]() In the world of custom furniture making, the trend of designing unique tabletops using wood, resin, or a blend of both, has gained significant popularity. A crucial step in this creative journey is ensuring your tabletop is perfectly flat and level. This is where precision tools, such as the ShopBot CNC equipped with a surfacing bit, become indispensable, particularly for larger or non-standard tabletops.
In the world of custom furniture making, the trend of designing unique tabletops using wood, resin, or a blend of both, has gained significant popularity. A crucial step in this creative journey is ensuring your tabletop is perfectly flat and level. This is where precision tools, such as the ShopBot CNC equipped with a surfacing bit, become indispensable, particularly for larger or non-standard tabletops.
Before diving into the CNC surfacing technique, let’s explore the initial steps of material preparation. It begins with using a jointer to guarantee your wood pieces have straight, flat edges, which is essential for seamless joinery. Following this, a planer is employed to methodically shave your pieces to a uniform thickness, ideal for standard-sized components.
However, challenges emerge when working with oversized items like live-edge slabs or when combining multiple pieces. Here, the limitations of standard planers, usually maxing out at 12 inches, become evident. This limitation is overcome by the ShopBot CNC machine, which, with its specialized surfacing bit, can handle much larger and irregular shapes, making it a perfect choice for crafting unique, large-scale tabletops.
An alternative to CNC machining, especially for those without access to such equipment, is constructing a router sled. This manual method involves moving a router with a surfacing bit across your workpiece, similar to the CNC process, and is a viable solution for achieving a flat surface.
There are various tools and techniques for flattening tabletops, each with its specific use cases. The method we discuss here is one we’ve found particularly effective for the projects we undertake. Ultimately, the choice of method should align with your project’s requirements and available resources.
In the upcoming sections, we’ll delve into using the ShopBot CNC for surfacing, guiding you through a comprehensive process to achieve a flawlessly flat tabletop, irrespective of its size or complexity.
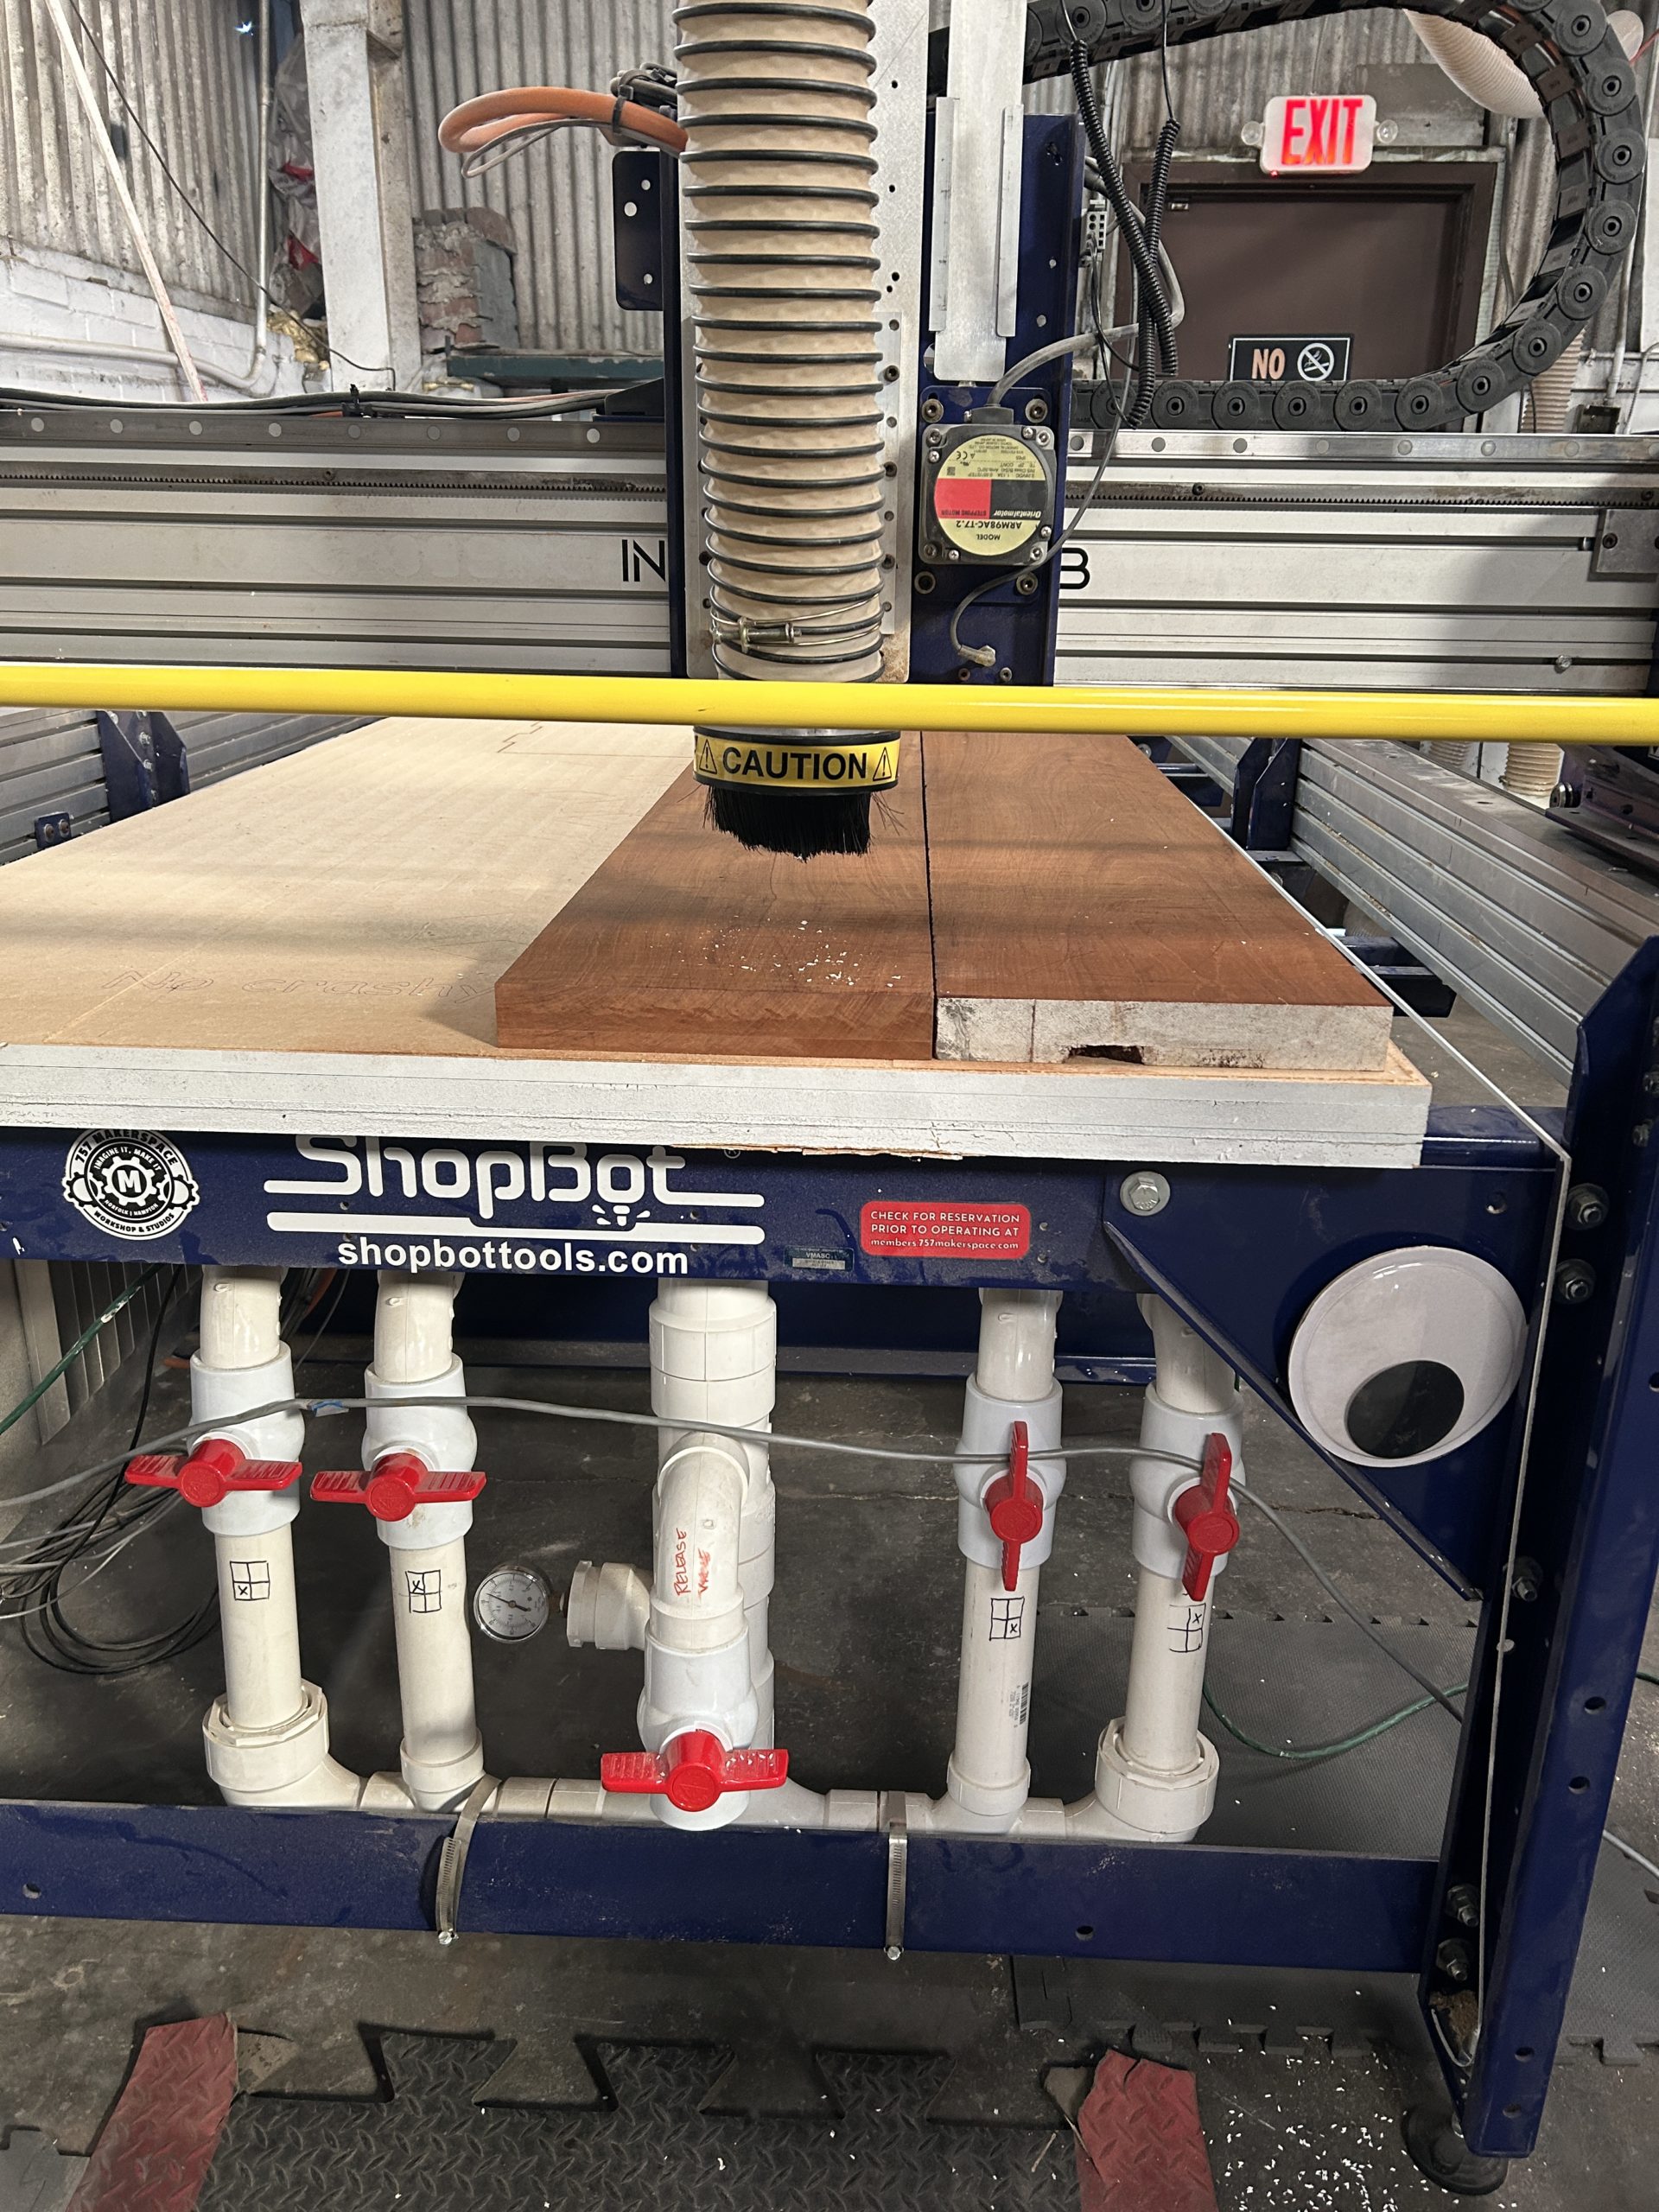
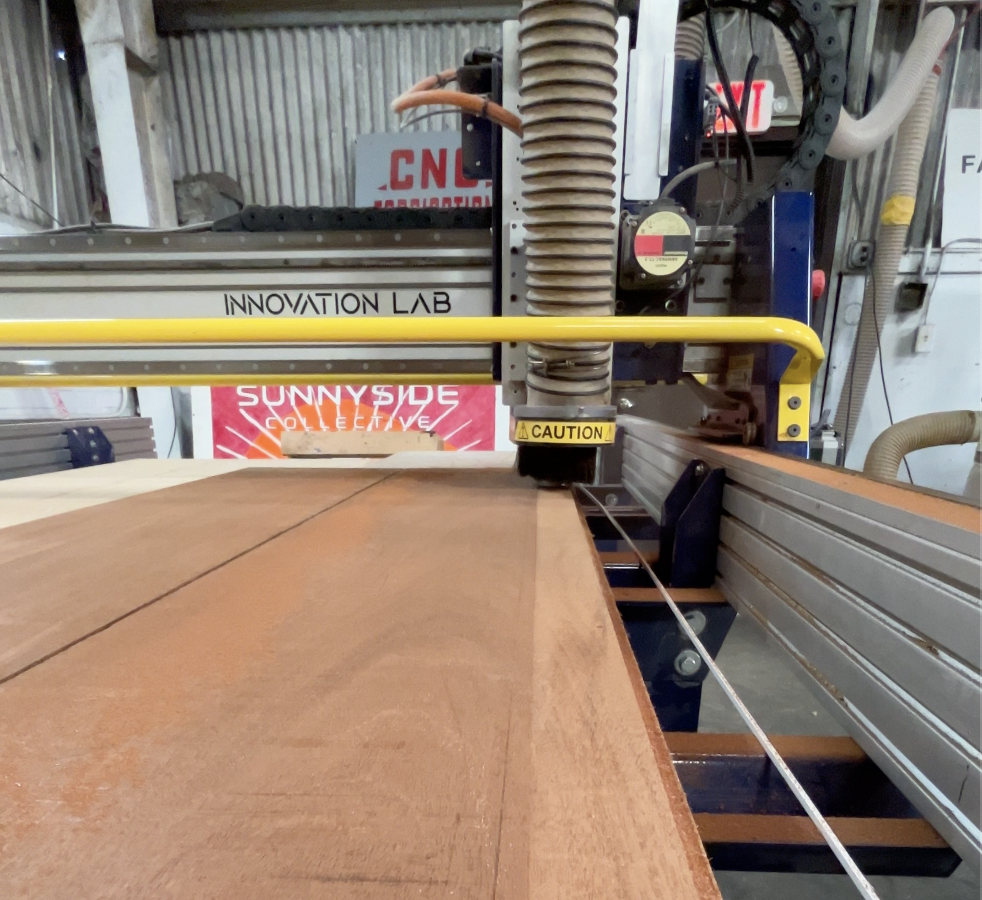
Our equipment for this task is the ShopBot Alpha with a 48″x96″ bed, featuring a vacuum hold down and a full cutting area of 48″x96″. For longer pieces exceeding 96″, the machine allows for indexing and pushing through, as both ends are open. The vacuum hold down requires a flat surface to effectively secure the material, ensuring stability during cutting.
In this particular example, we collaborated with Bill Fowler, working with slabs of Honduran Mahogany to craft a beautiful rocking chair. These wood pieces, stored for over 30 years, were perfectly dry and ready for use.
Step 1: Material Preparation
Ensure your wood is adequately dry. Freshly cut or moist wood can swell or crack as it dries.
Step 2: Selecting a Flat Face
Choose the flattest face of the wood to place face down on the CNC bed. If needed, side clamps can be used for additional support.
Step 3: Sizing Your Material
In this project, Bill’s pieces measured approximately 11″x62″ and were under 2″ thick. Since the two pieces were almost identical, we opted to cut them simultaneously.
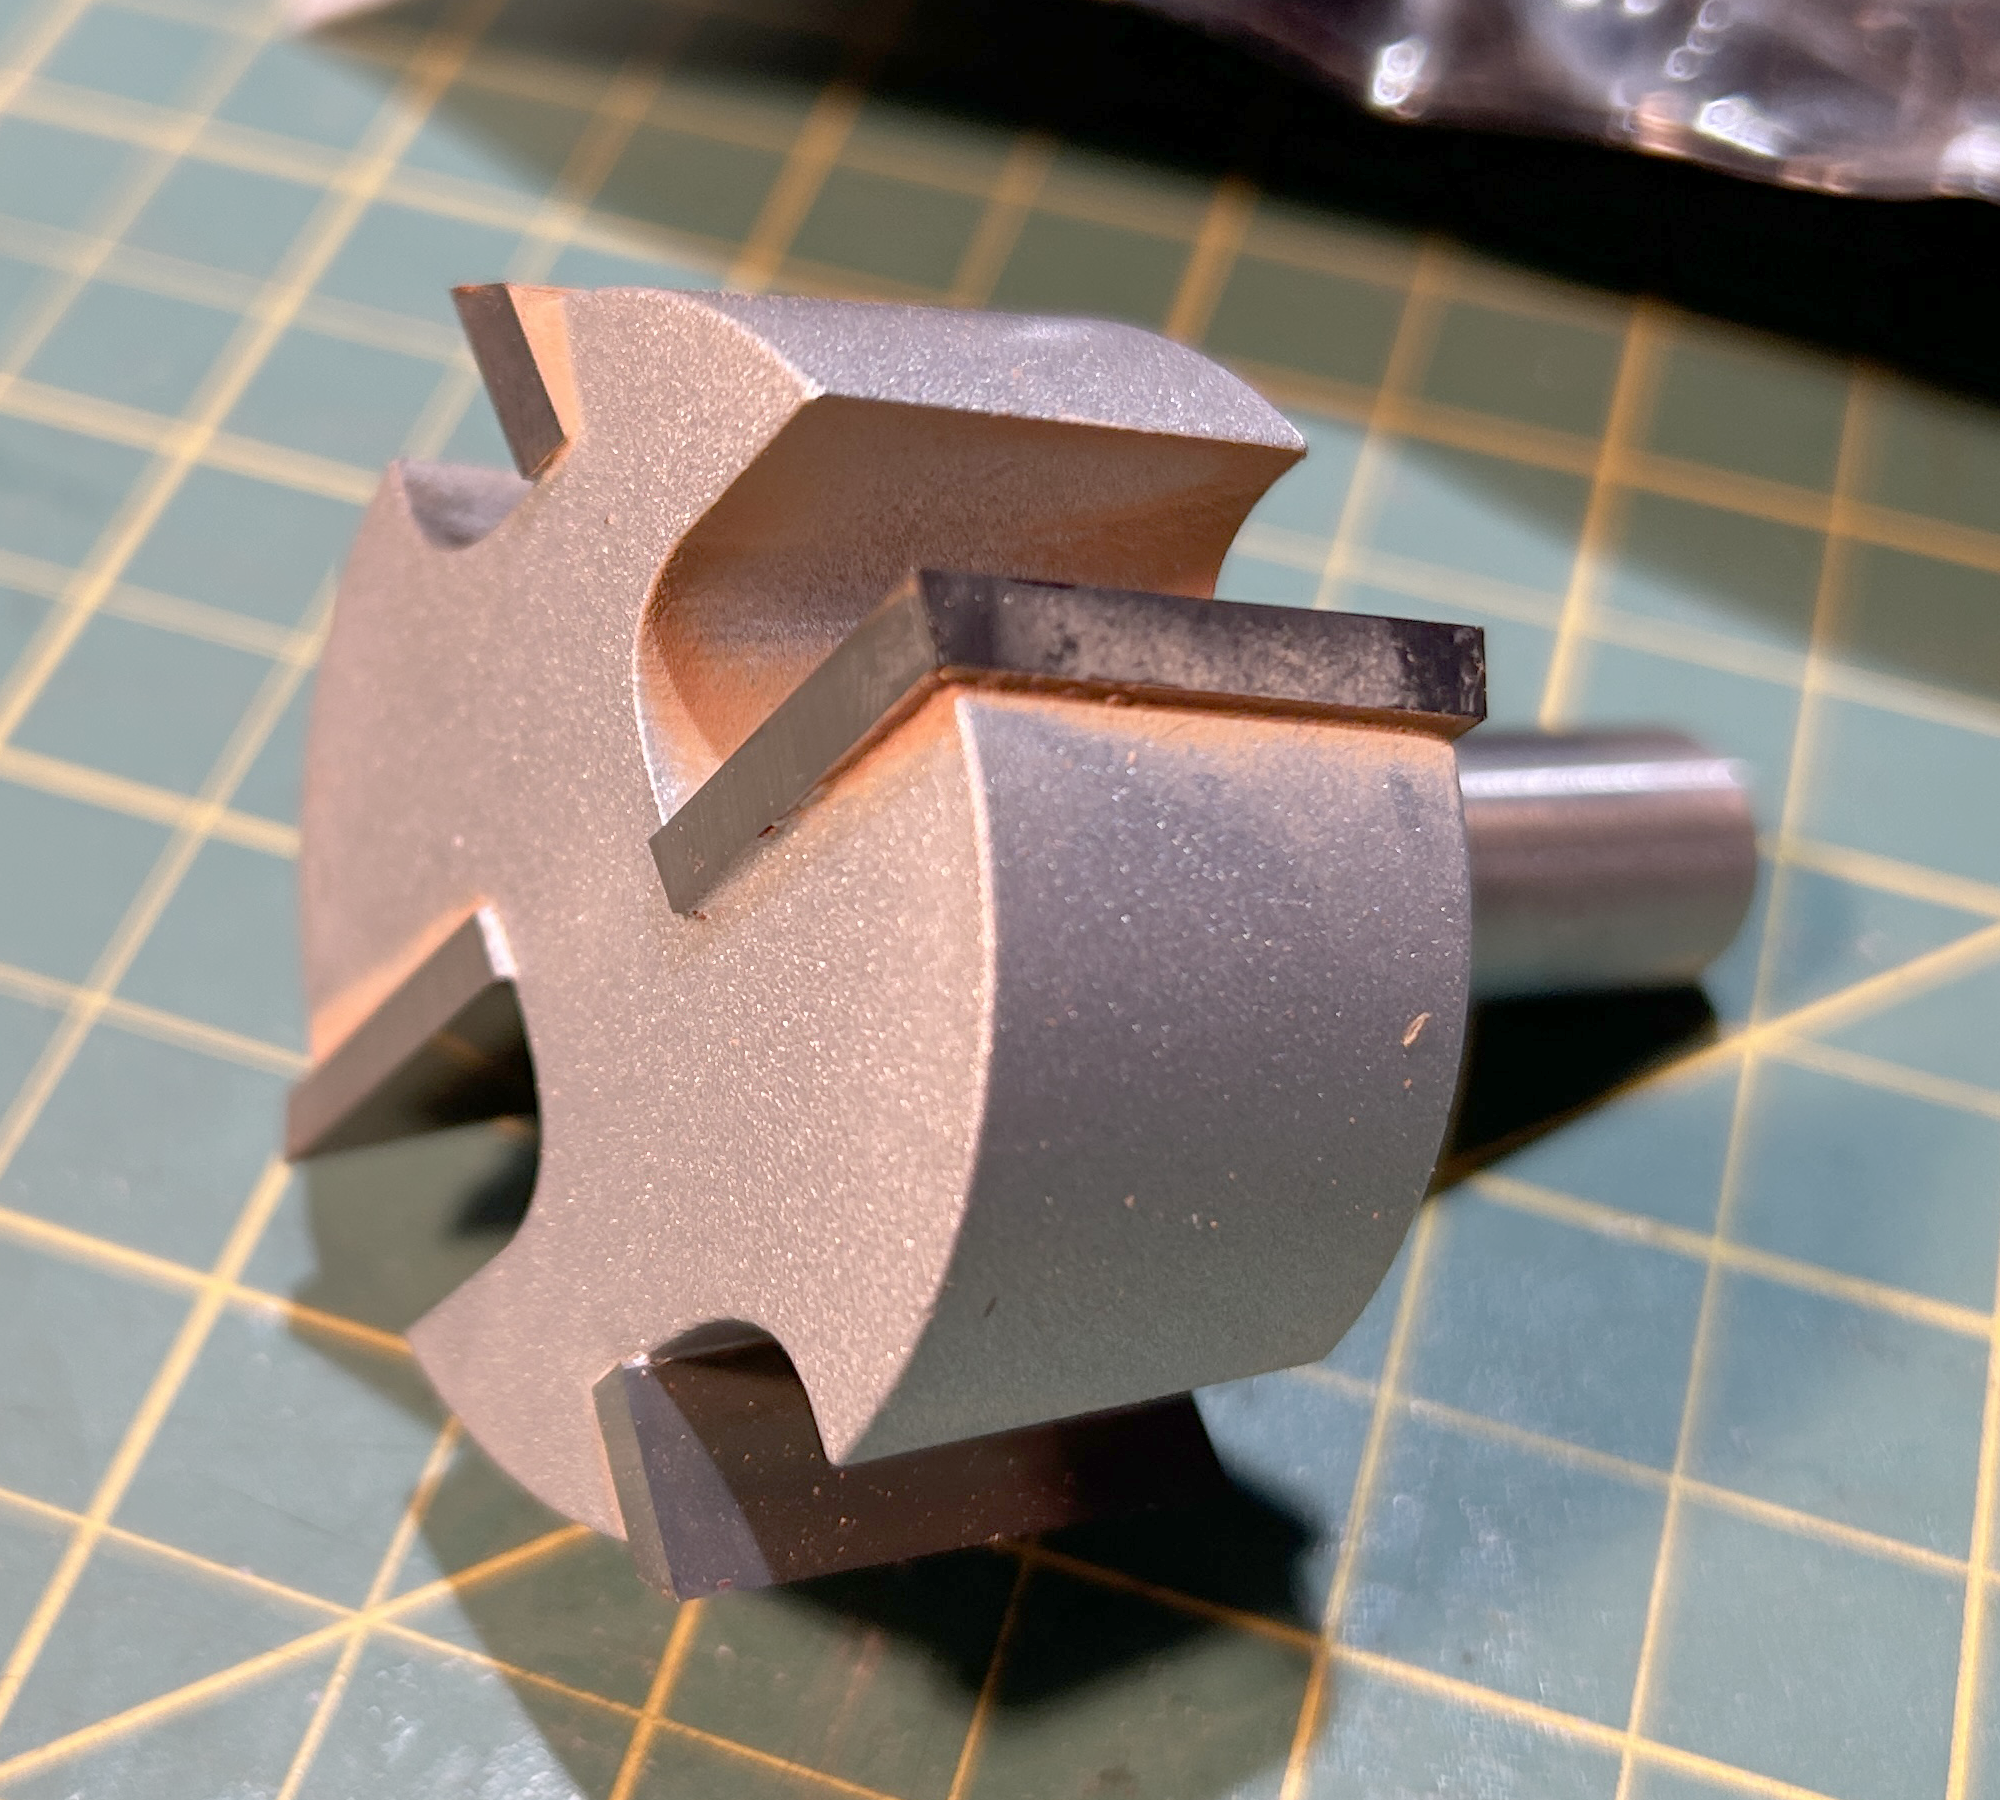
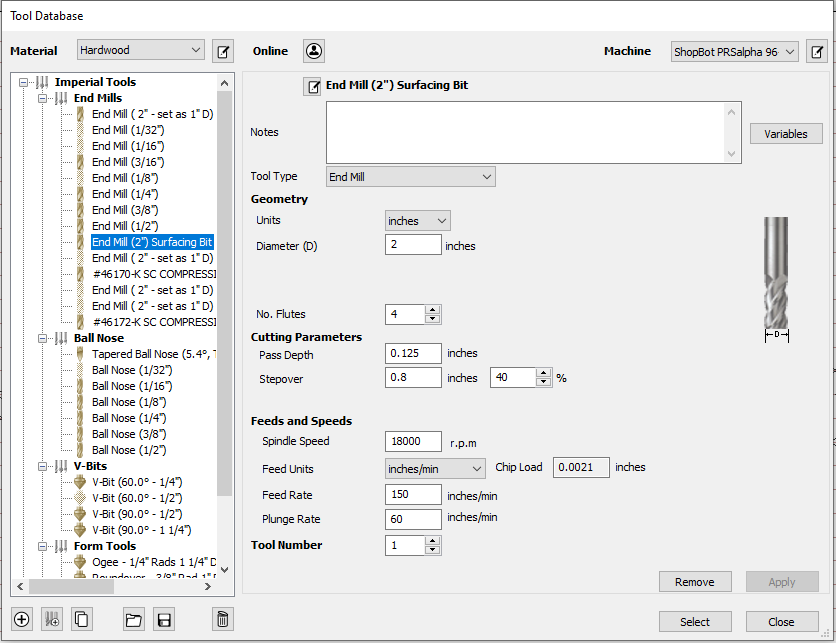
Step 4: Choosing the Cutting Bit
We utilized the Infinity Cutting Tools 2″ wide, 1/2″ shank super duty planer bit.
Bit Details:
- Pass Depth (max): 0.125″
- Stepover: 40%
- Feeds and Speeds:
- Spindle Speed: 18,000
- Feed Rate: 150 Inches/Min.
- Plunge Rate: 60 Inches/Min. (chipload: 0.0021 inches)
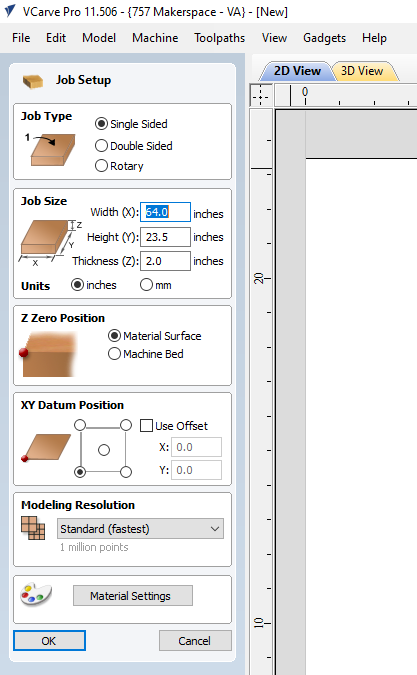
Step 5: Creating a Tool Path
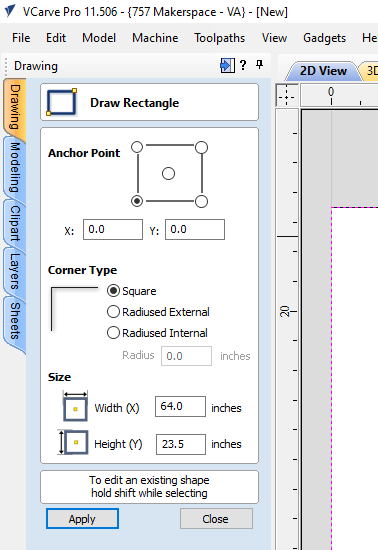
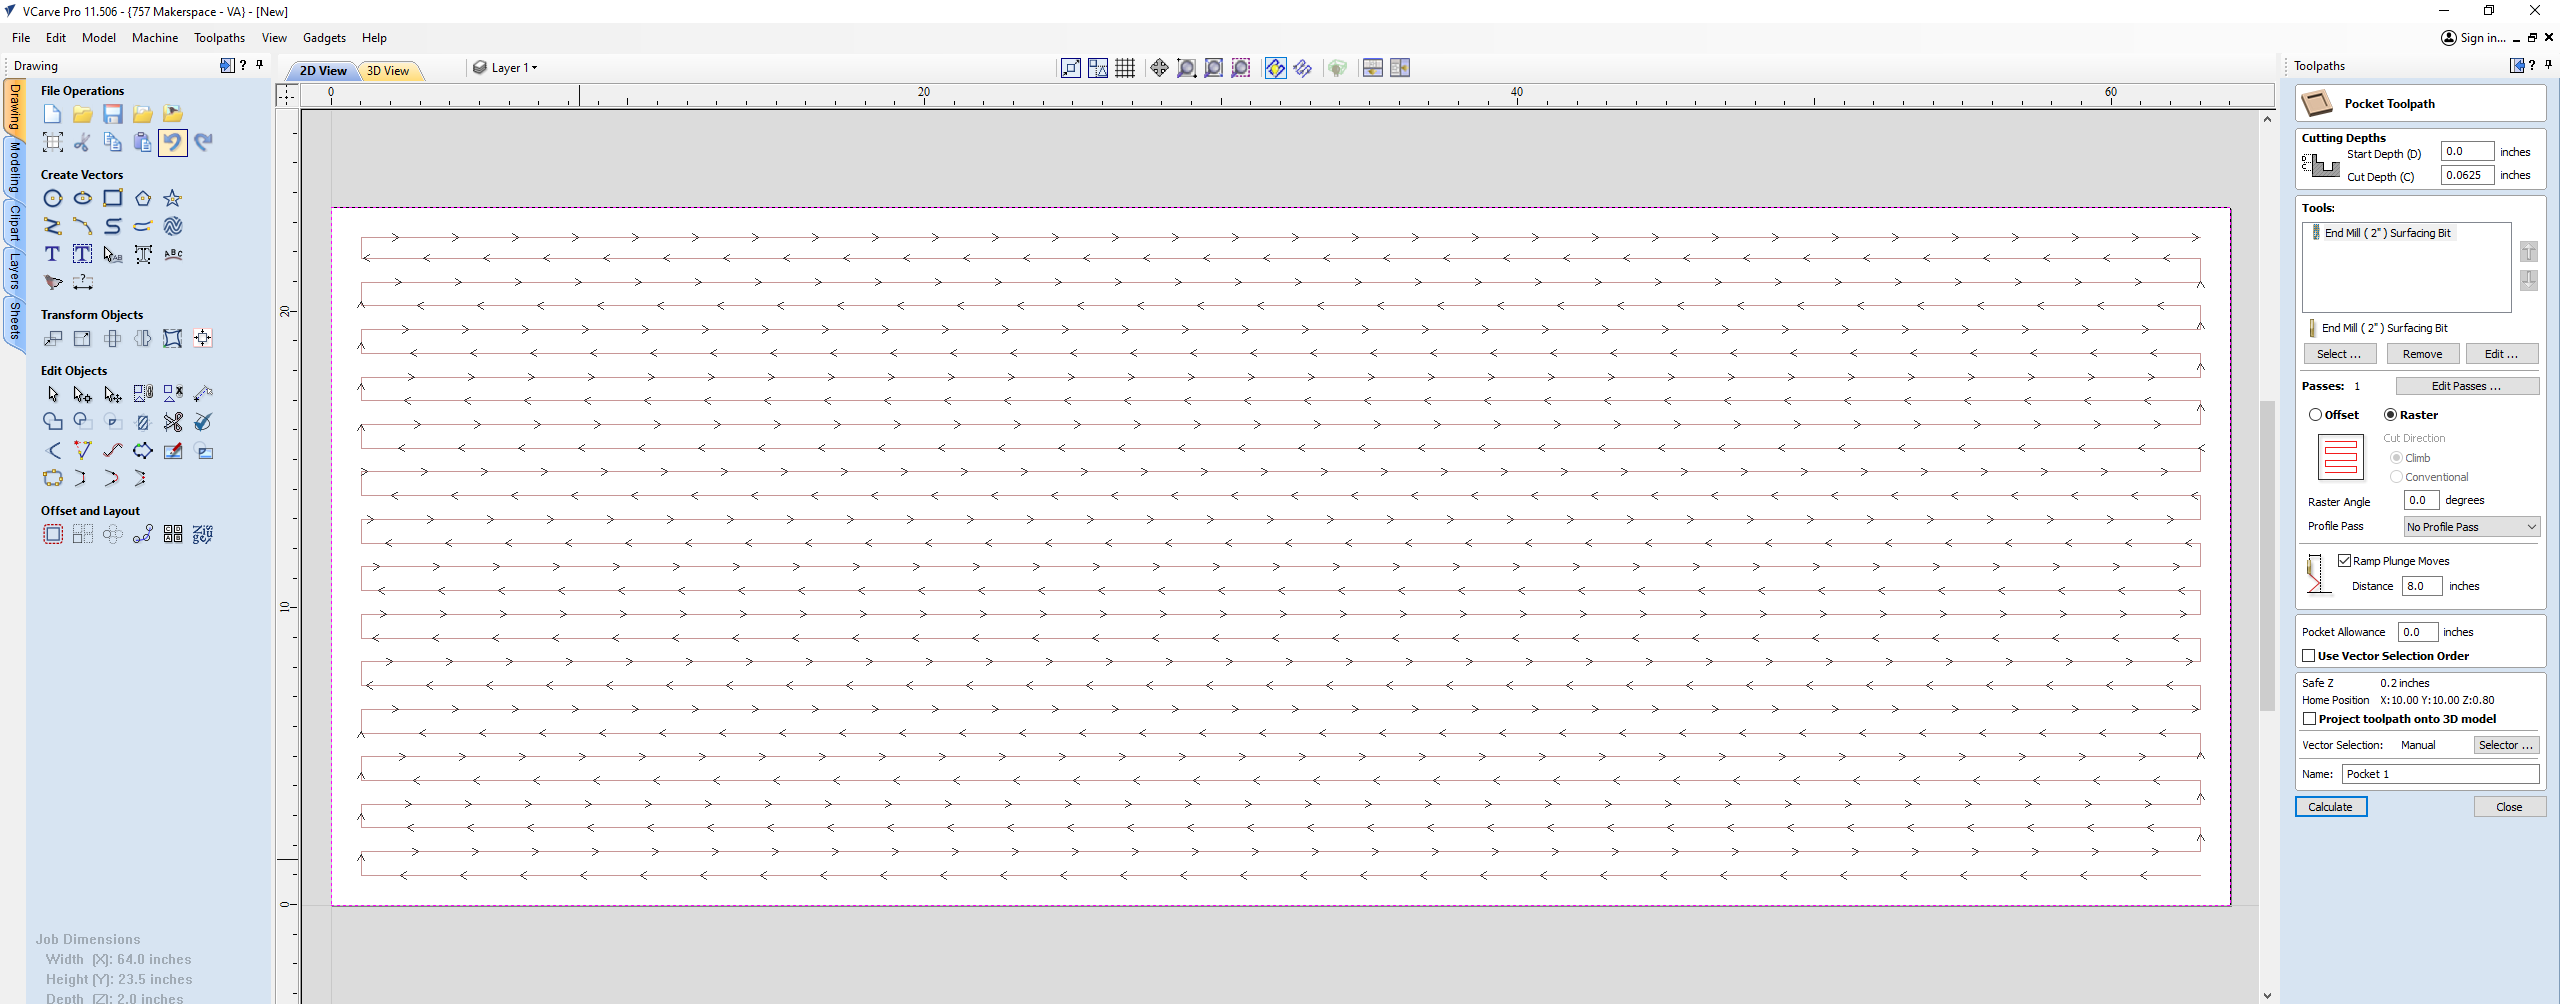
Using V-Carve, we set up the 2″ surfacing bit and laid out the wood on the bed for cutting. Both pieces were placed side by side, offset by 1″ from the X and Y home positions. We created a rectangle in VCarve 2″ larger in both the X and Y directions than the material size. The Pocket tool path was used, ensuring the cut extends 1″ beyond in both directions, eliminating any rounding in the corners.
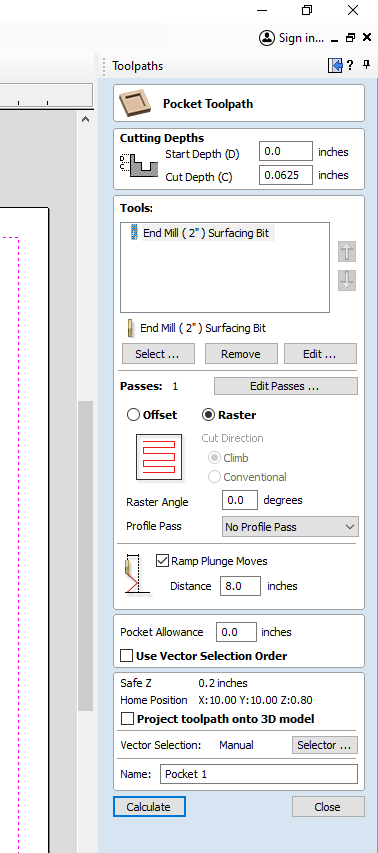
Additional Tips Here:
- Use the Raster option, and select the path to run along the X direction (on the longer side).
- Ramp the start cut into the material with an 8″ distance to accommodate the center portion of the bit, which has no cutting area.
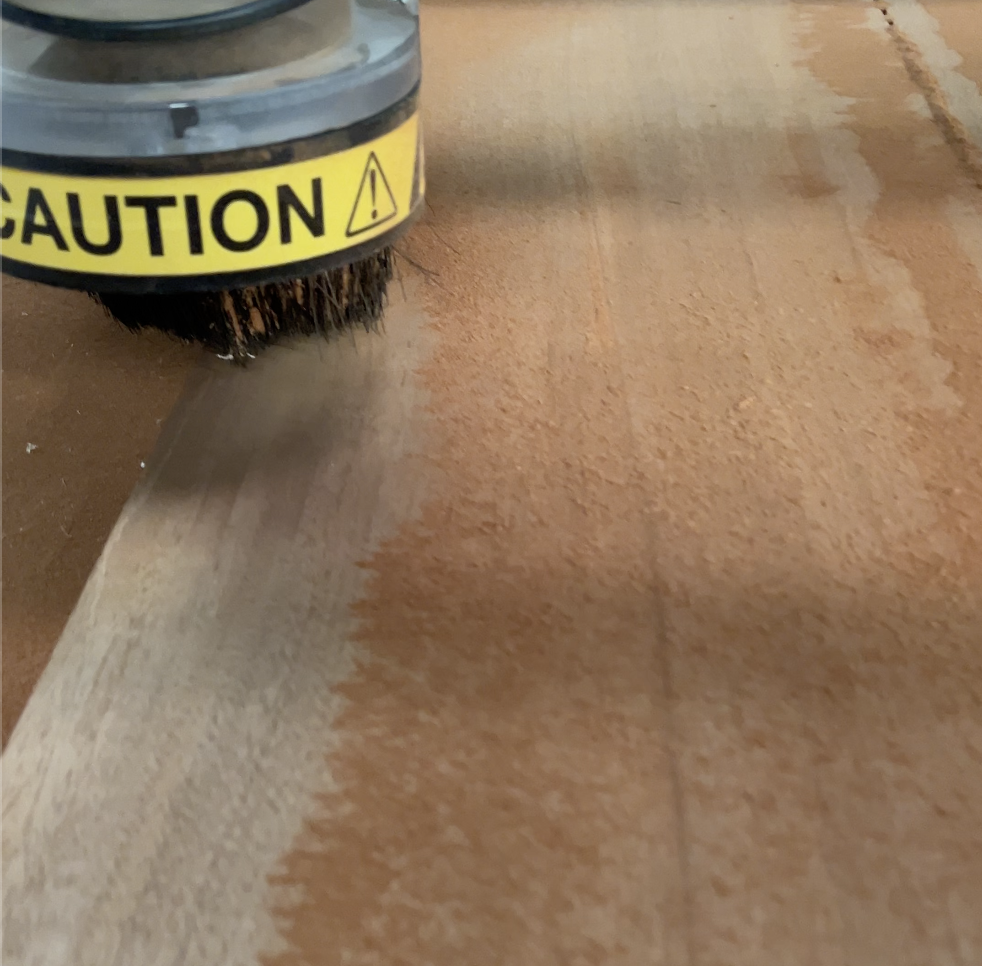
We found a cut depth of 1/8″ worked well, 1/16″ to 1/8″ is typical and if you have a good hold down you can go deeper for rough passes. Shallower passes can also run faster without putting undue stress on the bit or moving the board below.
Step 6: Flipping and Repeating for Final Depth
We began with the flattest side down, then flipped the material after surfacing the top. This ensured both sides were clean, parallel, and without low spots. If you are using more than one pass, you will need to adjust the value in VCarve for your pocket depth. Make sure you know your depth or that you zero to the top of the new surface height between passes and save as a new toolpath with those values to use.
If this is your first foray into CNC surfacing, remember to pace yourself. Take it slow, be thorough with each step, and with every project, you’ll find the process becoming more intuitive. Before you know it, operating the CNC will feel like second nature, seamlessly blending into your woodworking skillset. If you need more help, check out our calendar of events and come take a class with us on the CNC!
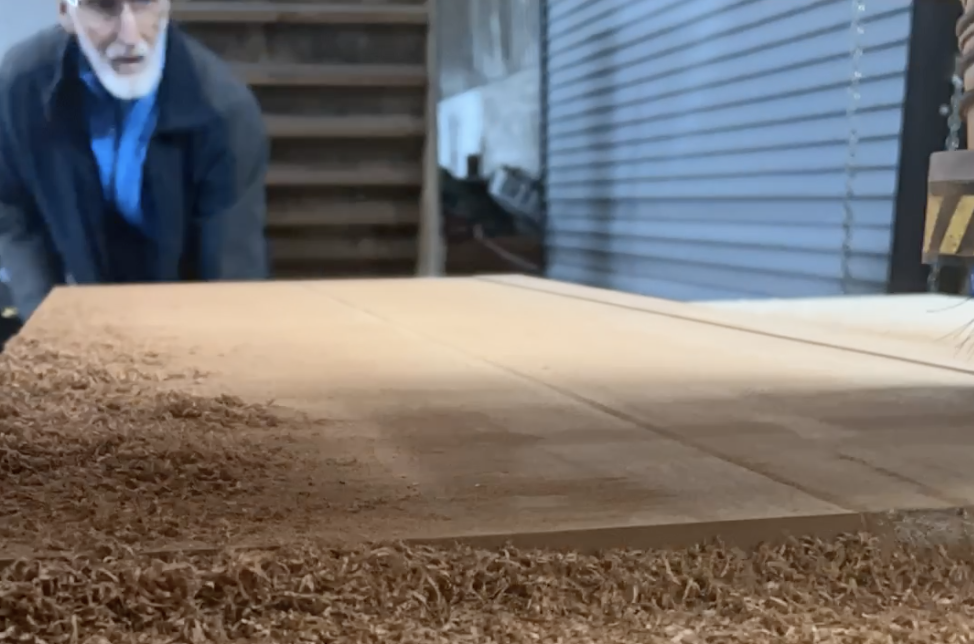
If you need a visual example of this in action, check-out a YouTube Short we shared showing this exact piece being flattened below:
Leave a Reply