Got an idea you have been thinking about over and over? Todays post is about taking that idea and getting it out of your head. This week around 757 Makerspace members have had some wonderfully big ideas presented and we use these same tools to help them move their concepts and ideas ahead.
Rough Sketch With A Purpose
You don’t have to be an “artist” but you do need to learn how to sketch just enough to convey shapes, forms and intentions and you get to do this with one or more friends. Your goal: Sketch just enough to explain your idea to another person.
Start by gathering any paper you have access too (the bigger the better) and whatever you have to draw with (pencils, pens, colors, crayons, markers, paints, etc…).
Now think about the overall shape of your product or idea start to doodle on your paper. Some people have the vision to draw in 3D right from the start, I am going to guess you are not ready for that just yet… no fear. We are going to start with an easy one.
The Front View
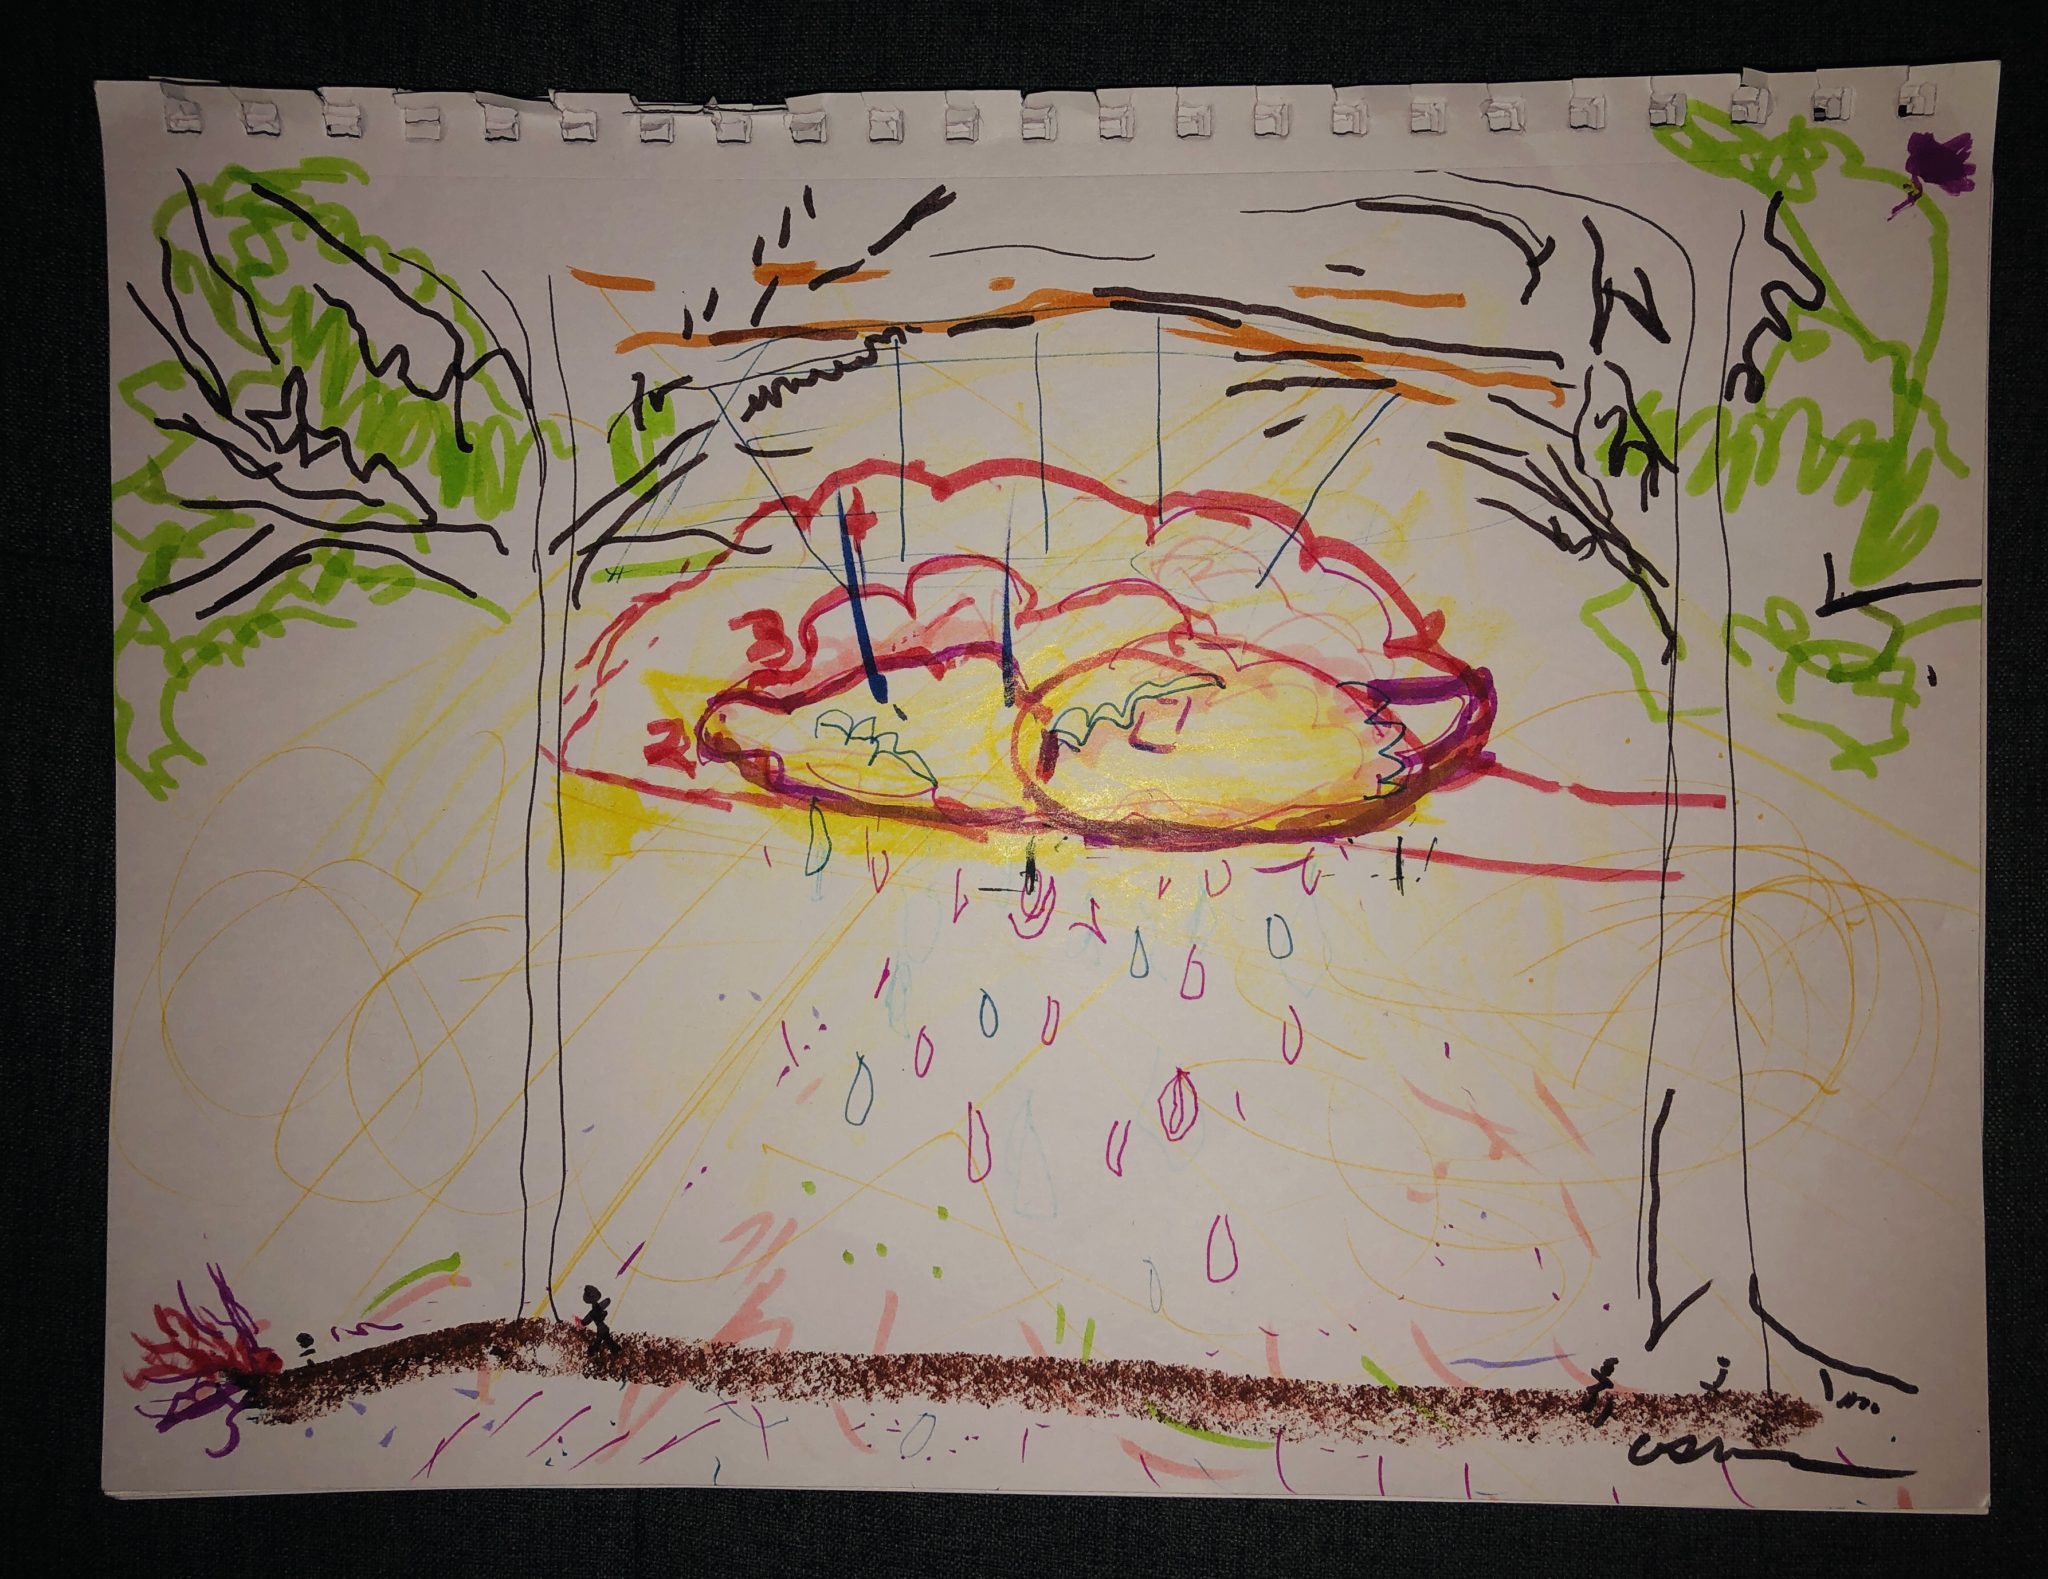
Start with simple shapes, most everything can be broken down to lines, boxes and circles. Think about if this was right in front of you, what would you see. Pencils work great at this stage, because you can draw lightly on the paper and later darken areas you know you have right. Here is an example working with Cristina (the last image on the right is from a past project:
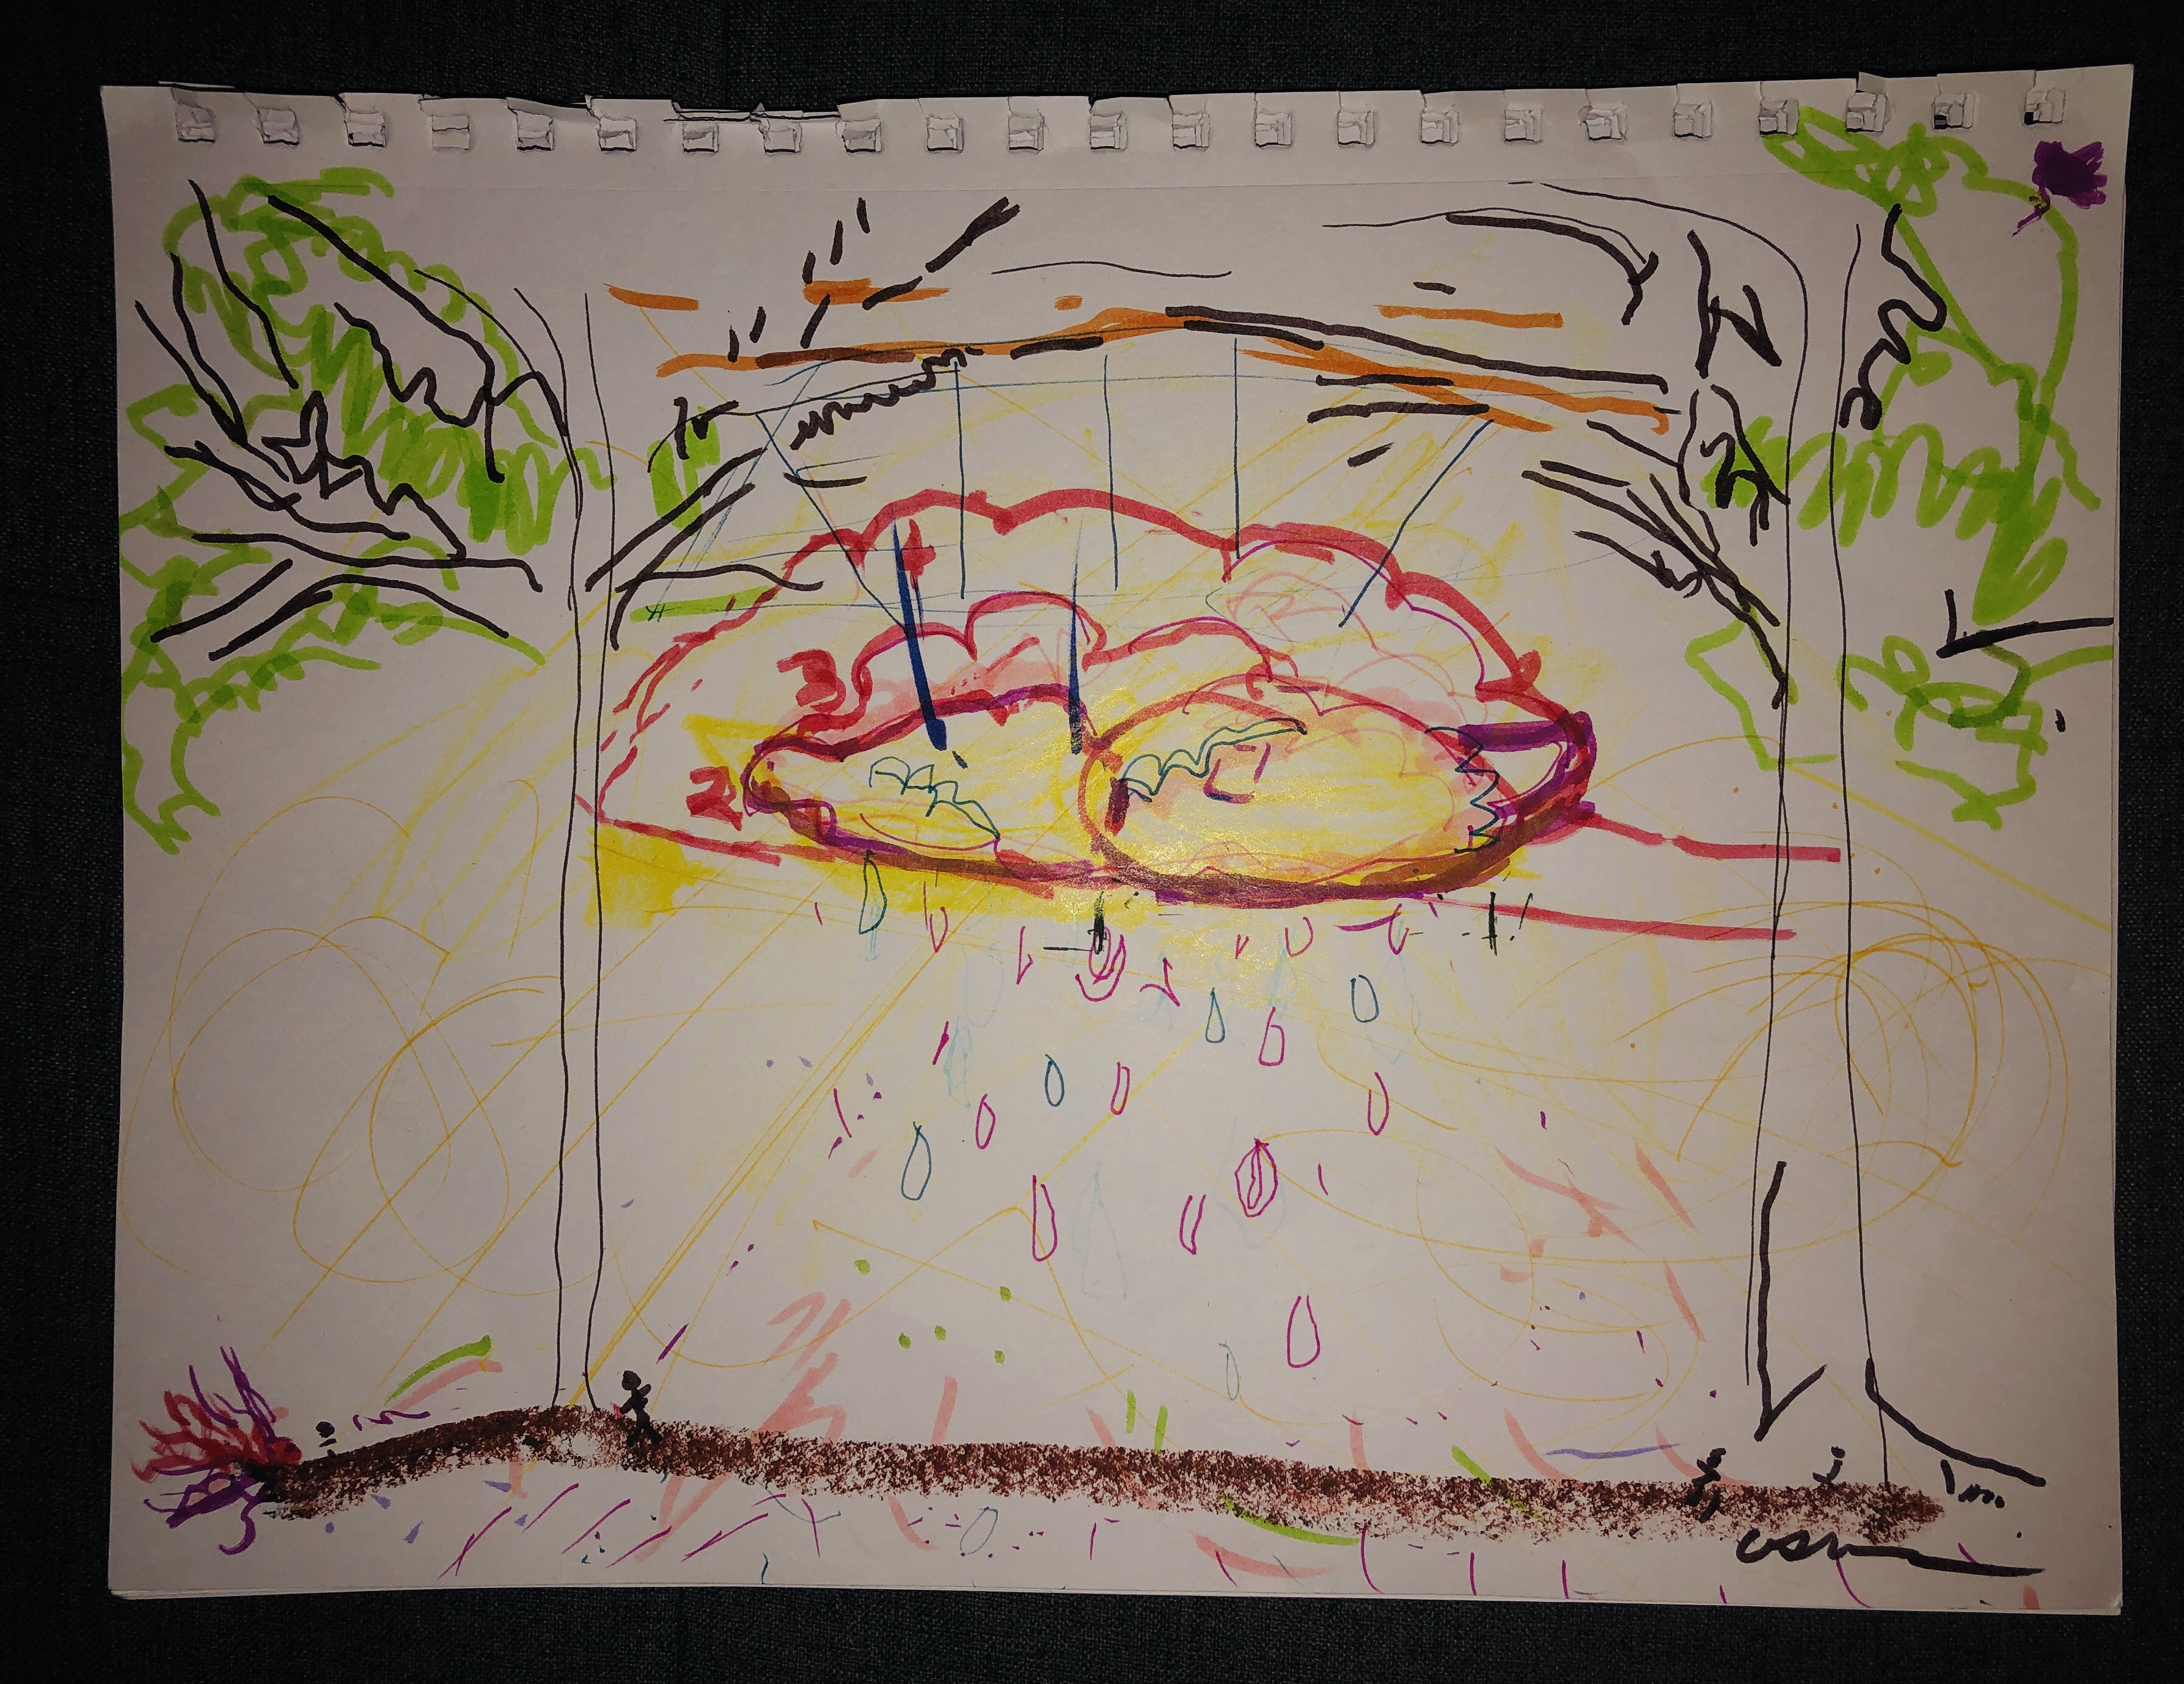

Both concepts are for large art installations. In her Sketches above, we can see a few things:
- A ground line across the bottom (establishes a starting point and context where it is located).
- Trees on either side (scale, and where this will be).
- Parts suspended between the trees (or in the woods, how it will be used).
- Use of color is optional, here it helps us to know this is a bright cheery piece of art that is using the sun and light to spread more glints across the ground and in the trees.
Alternate Views
To help understand better what your idea is, think about it in the top view and a side view (either right or left side). Think about that front view, is there anything missing to show depth, thickness of parts or other details that help to fill in missing information.
From the front view, it was hard to tell that there was depth. With the top view (or a side view) we can see that there are multiple layers stacked or layered. The image on the right is a section and top view of the Project Linked.
Scale
At this stage, we are starting to get a rough sense of scale (if you do not already know the size of your idea). To go along with this we need to start thinking about the materials used in the project. If we are building something out of sheet goods (ex. sheet of plywood, acrylic, metal, etc…) they come in common sizes (ex. 5’x5′, 4’x8′, 4’x12′, etc…) and if we are going to have to use more than one piece we need to start thinking about that with scale.
Additionally using a person or an object as a scale reference if applicable will help visually to define how big your project is. If there is any dimension you know at this stage? Lightly draw that dimension in to your sketch. As this evolves we will begin to work out the missing information.
In this sketch, we are using a door that was installed and working out how to make it double as storage and the need for more common accessible things in one of the studio spaces at 757 Makerspace (final on the right).
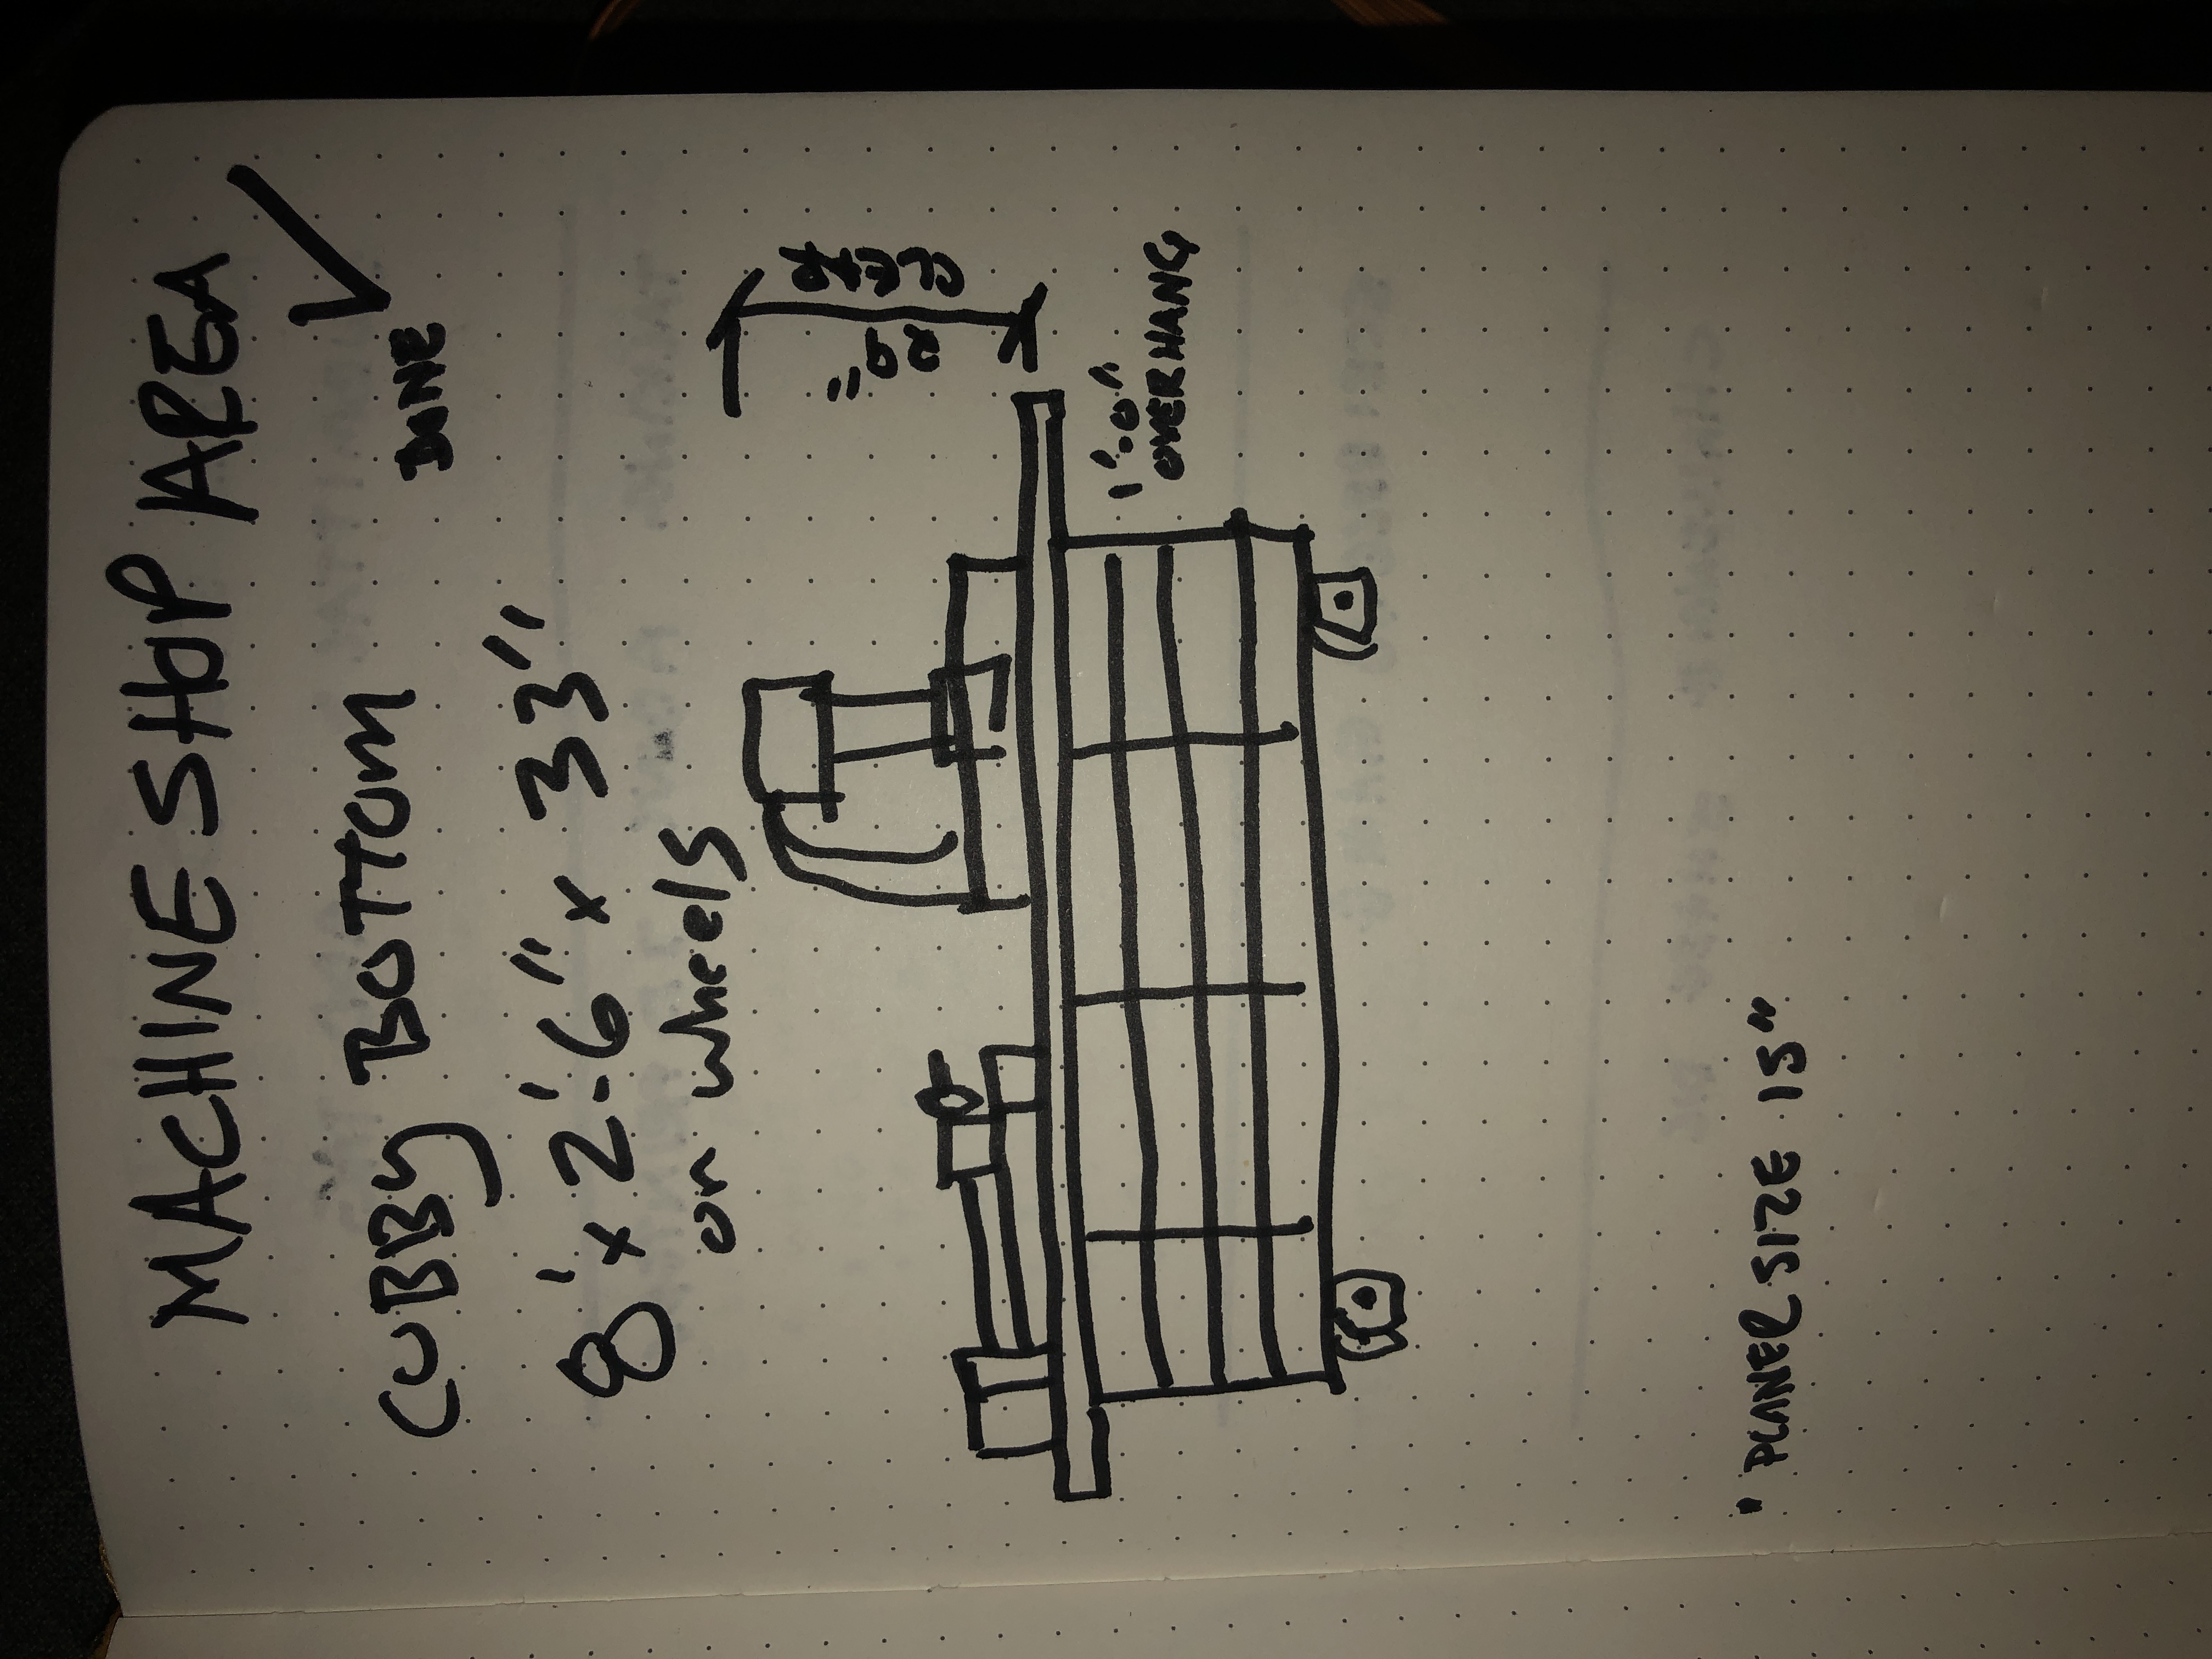
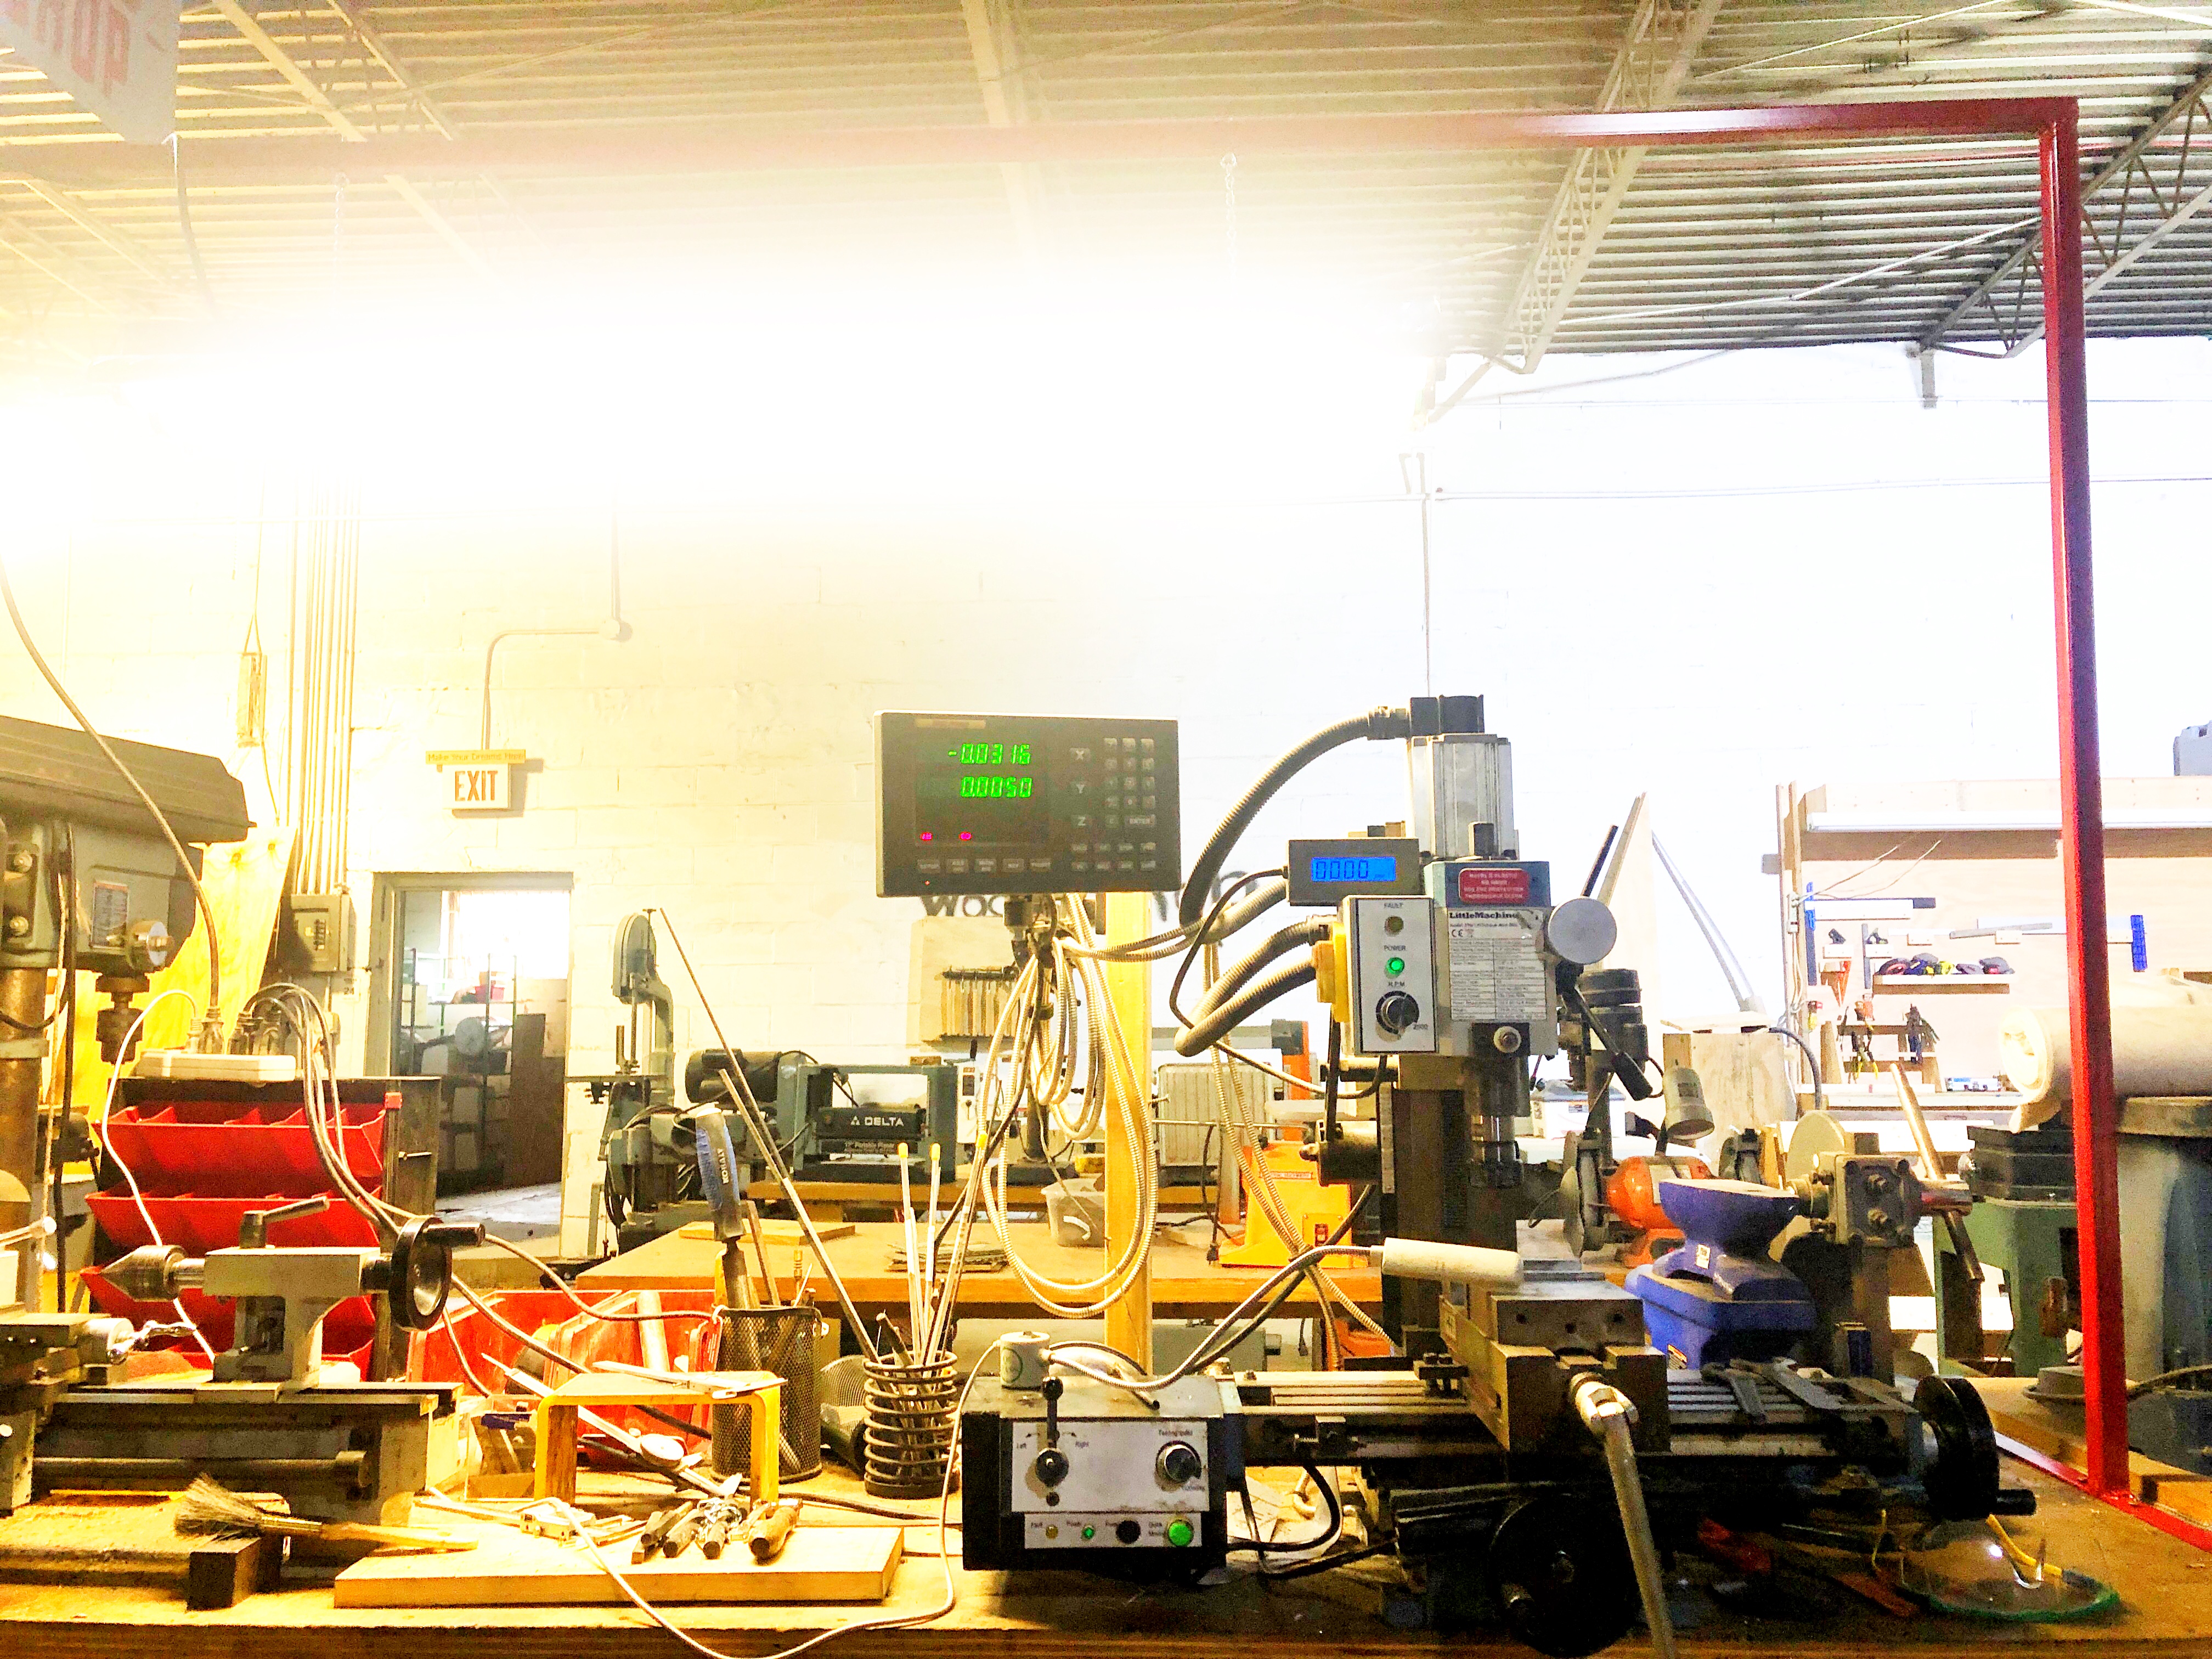
In the view below, we were in the machine shop area of 757 Makerspace and on this rolling cabinet is a lathe and a mill but even with point lights its a dark area to work. We sketched a few ideas to add more light, starting with what we know (existing shape and a few dimensions known) so we can start to visualize some options to help solve this problem. The image on the right is what we build, a rail that bolts to the left and right side of the rolling cabinet and holds a light that is suspended above the cabinet and tools.
3D Isometric View and Perspective
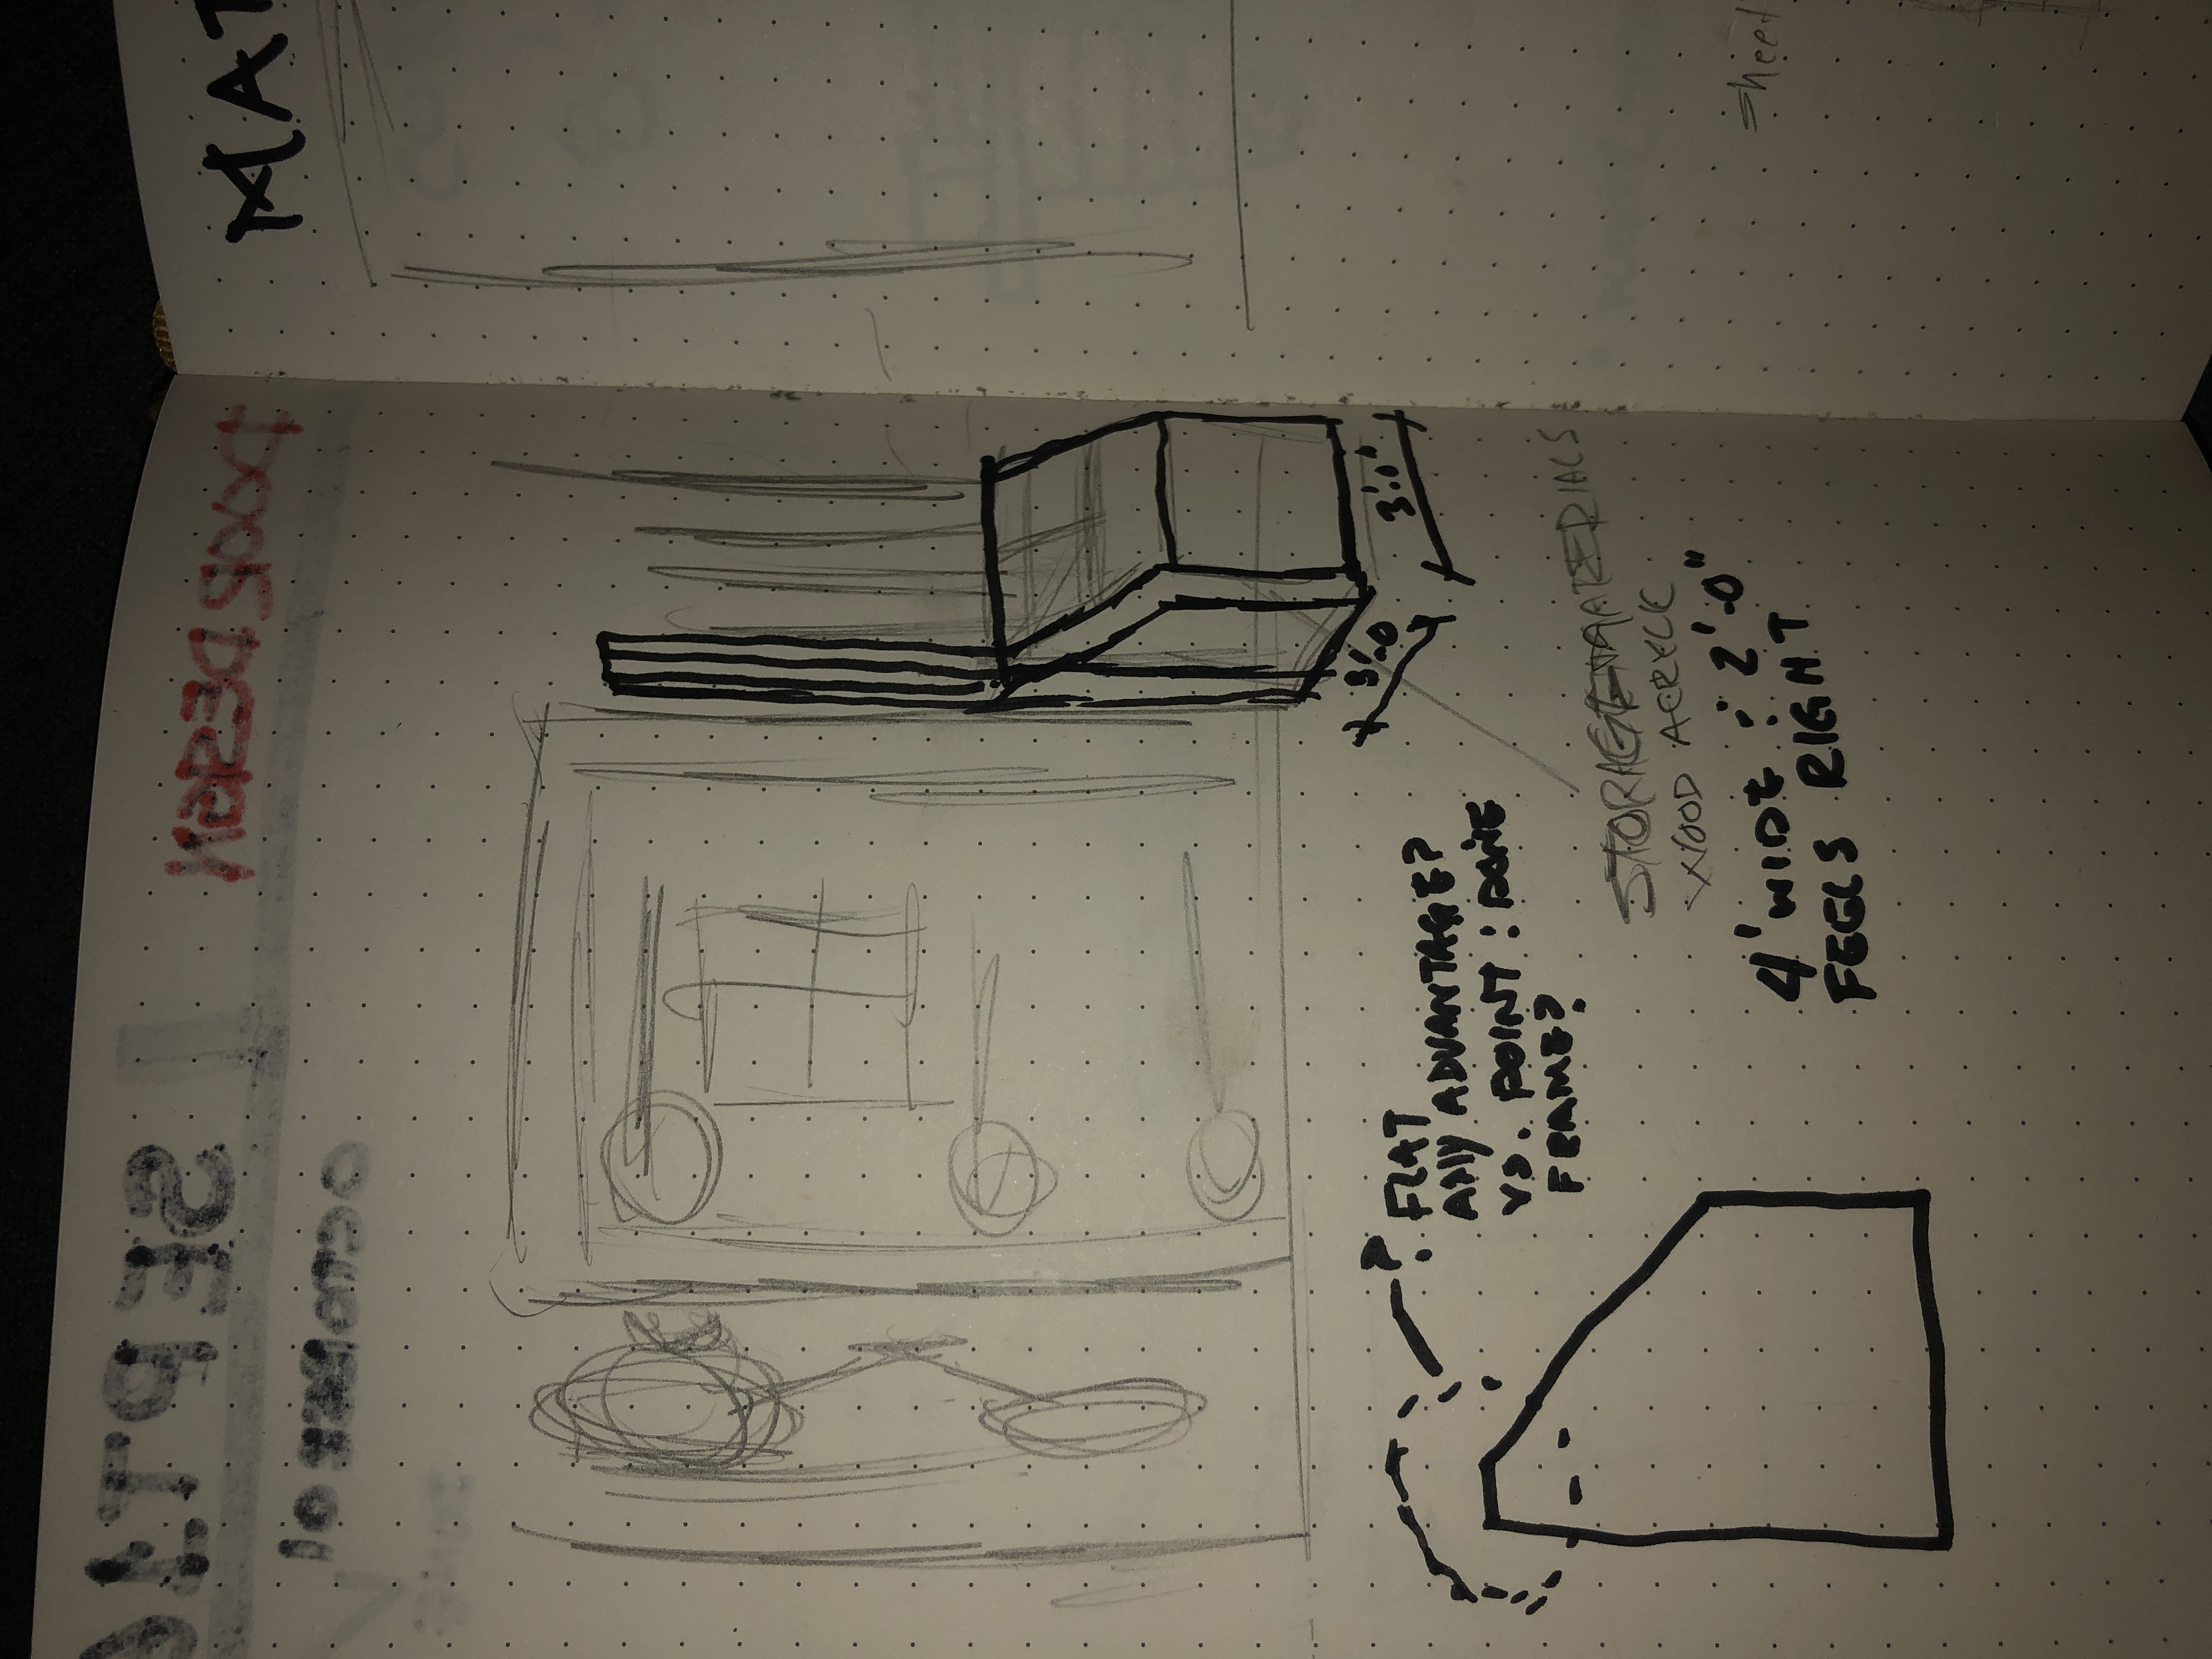
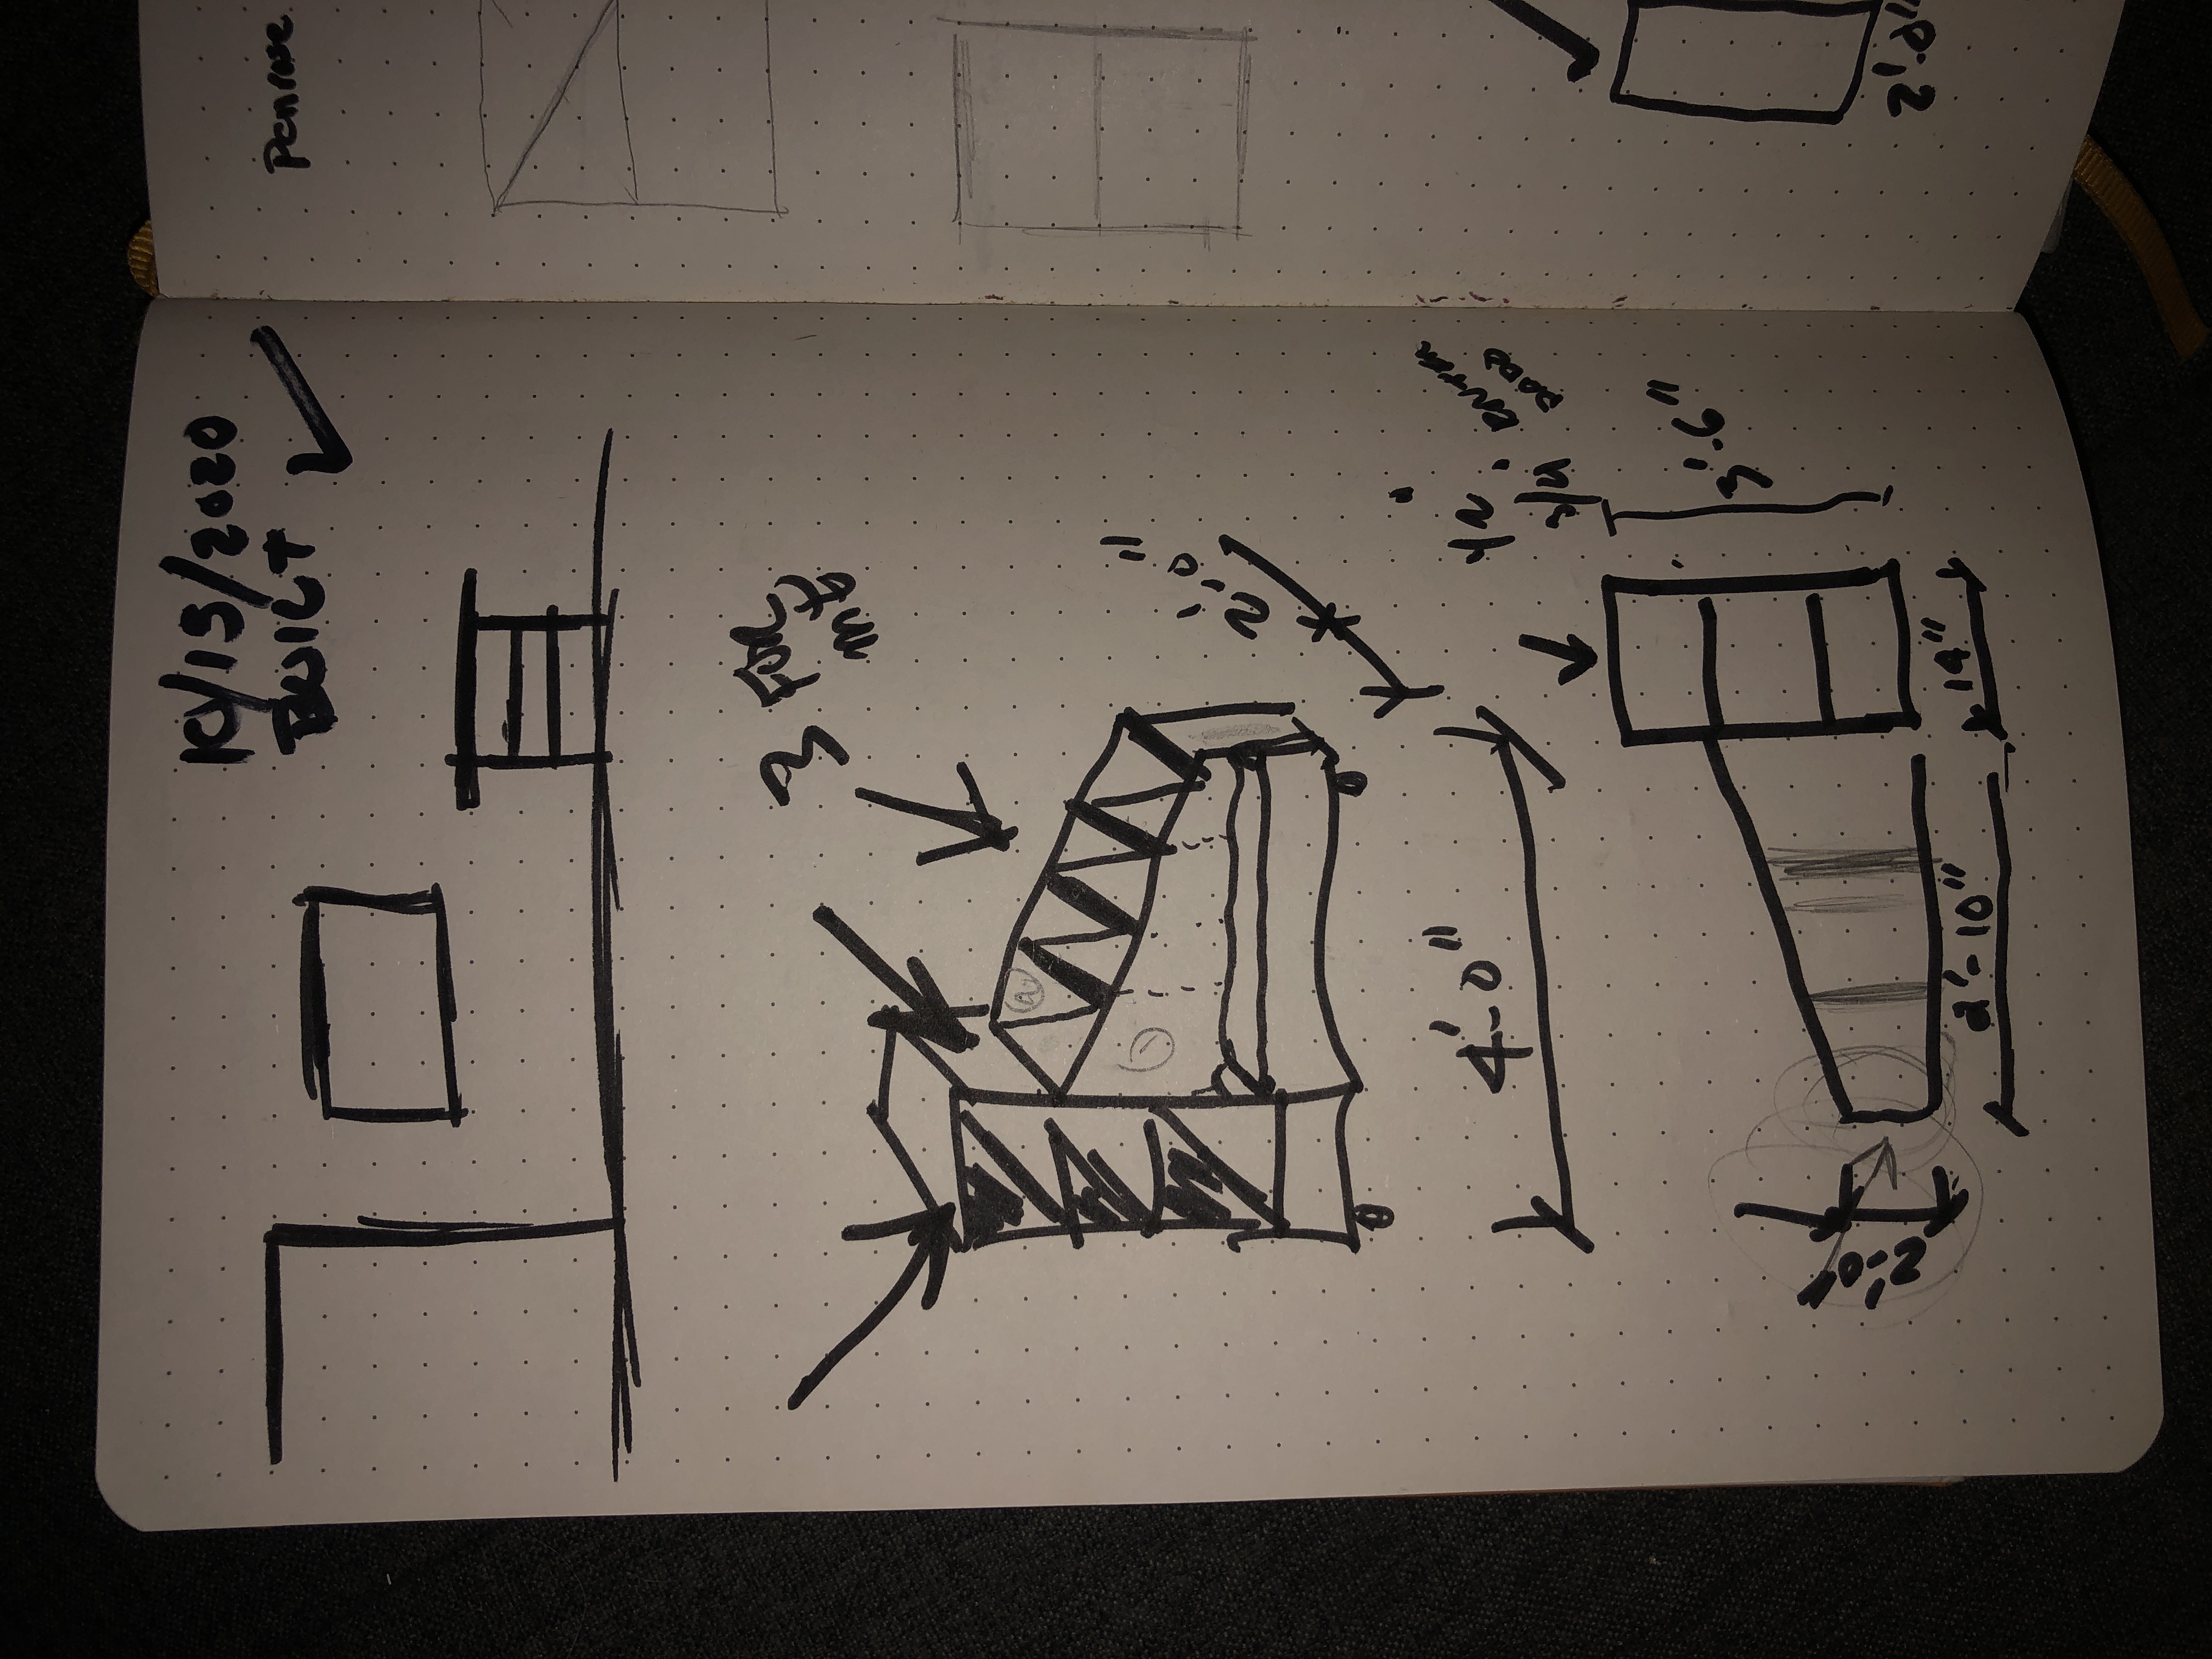
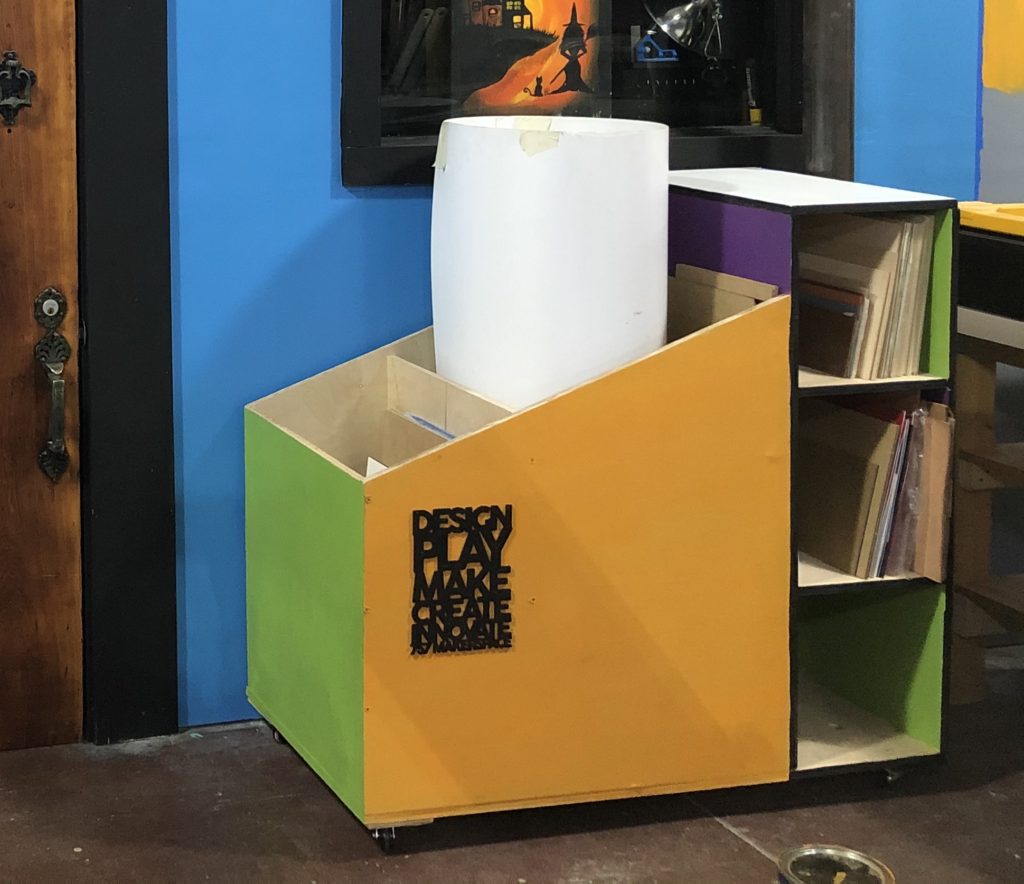
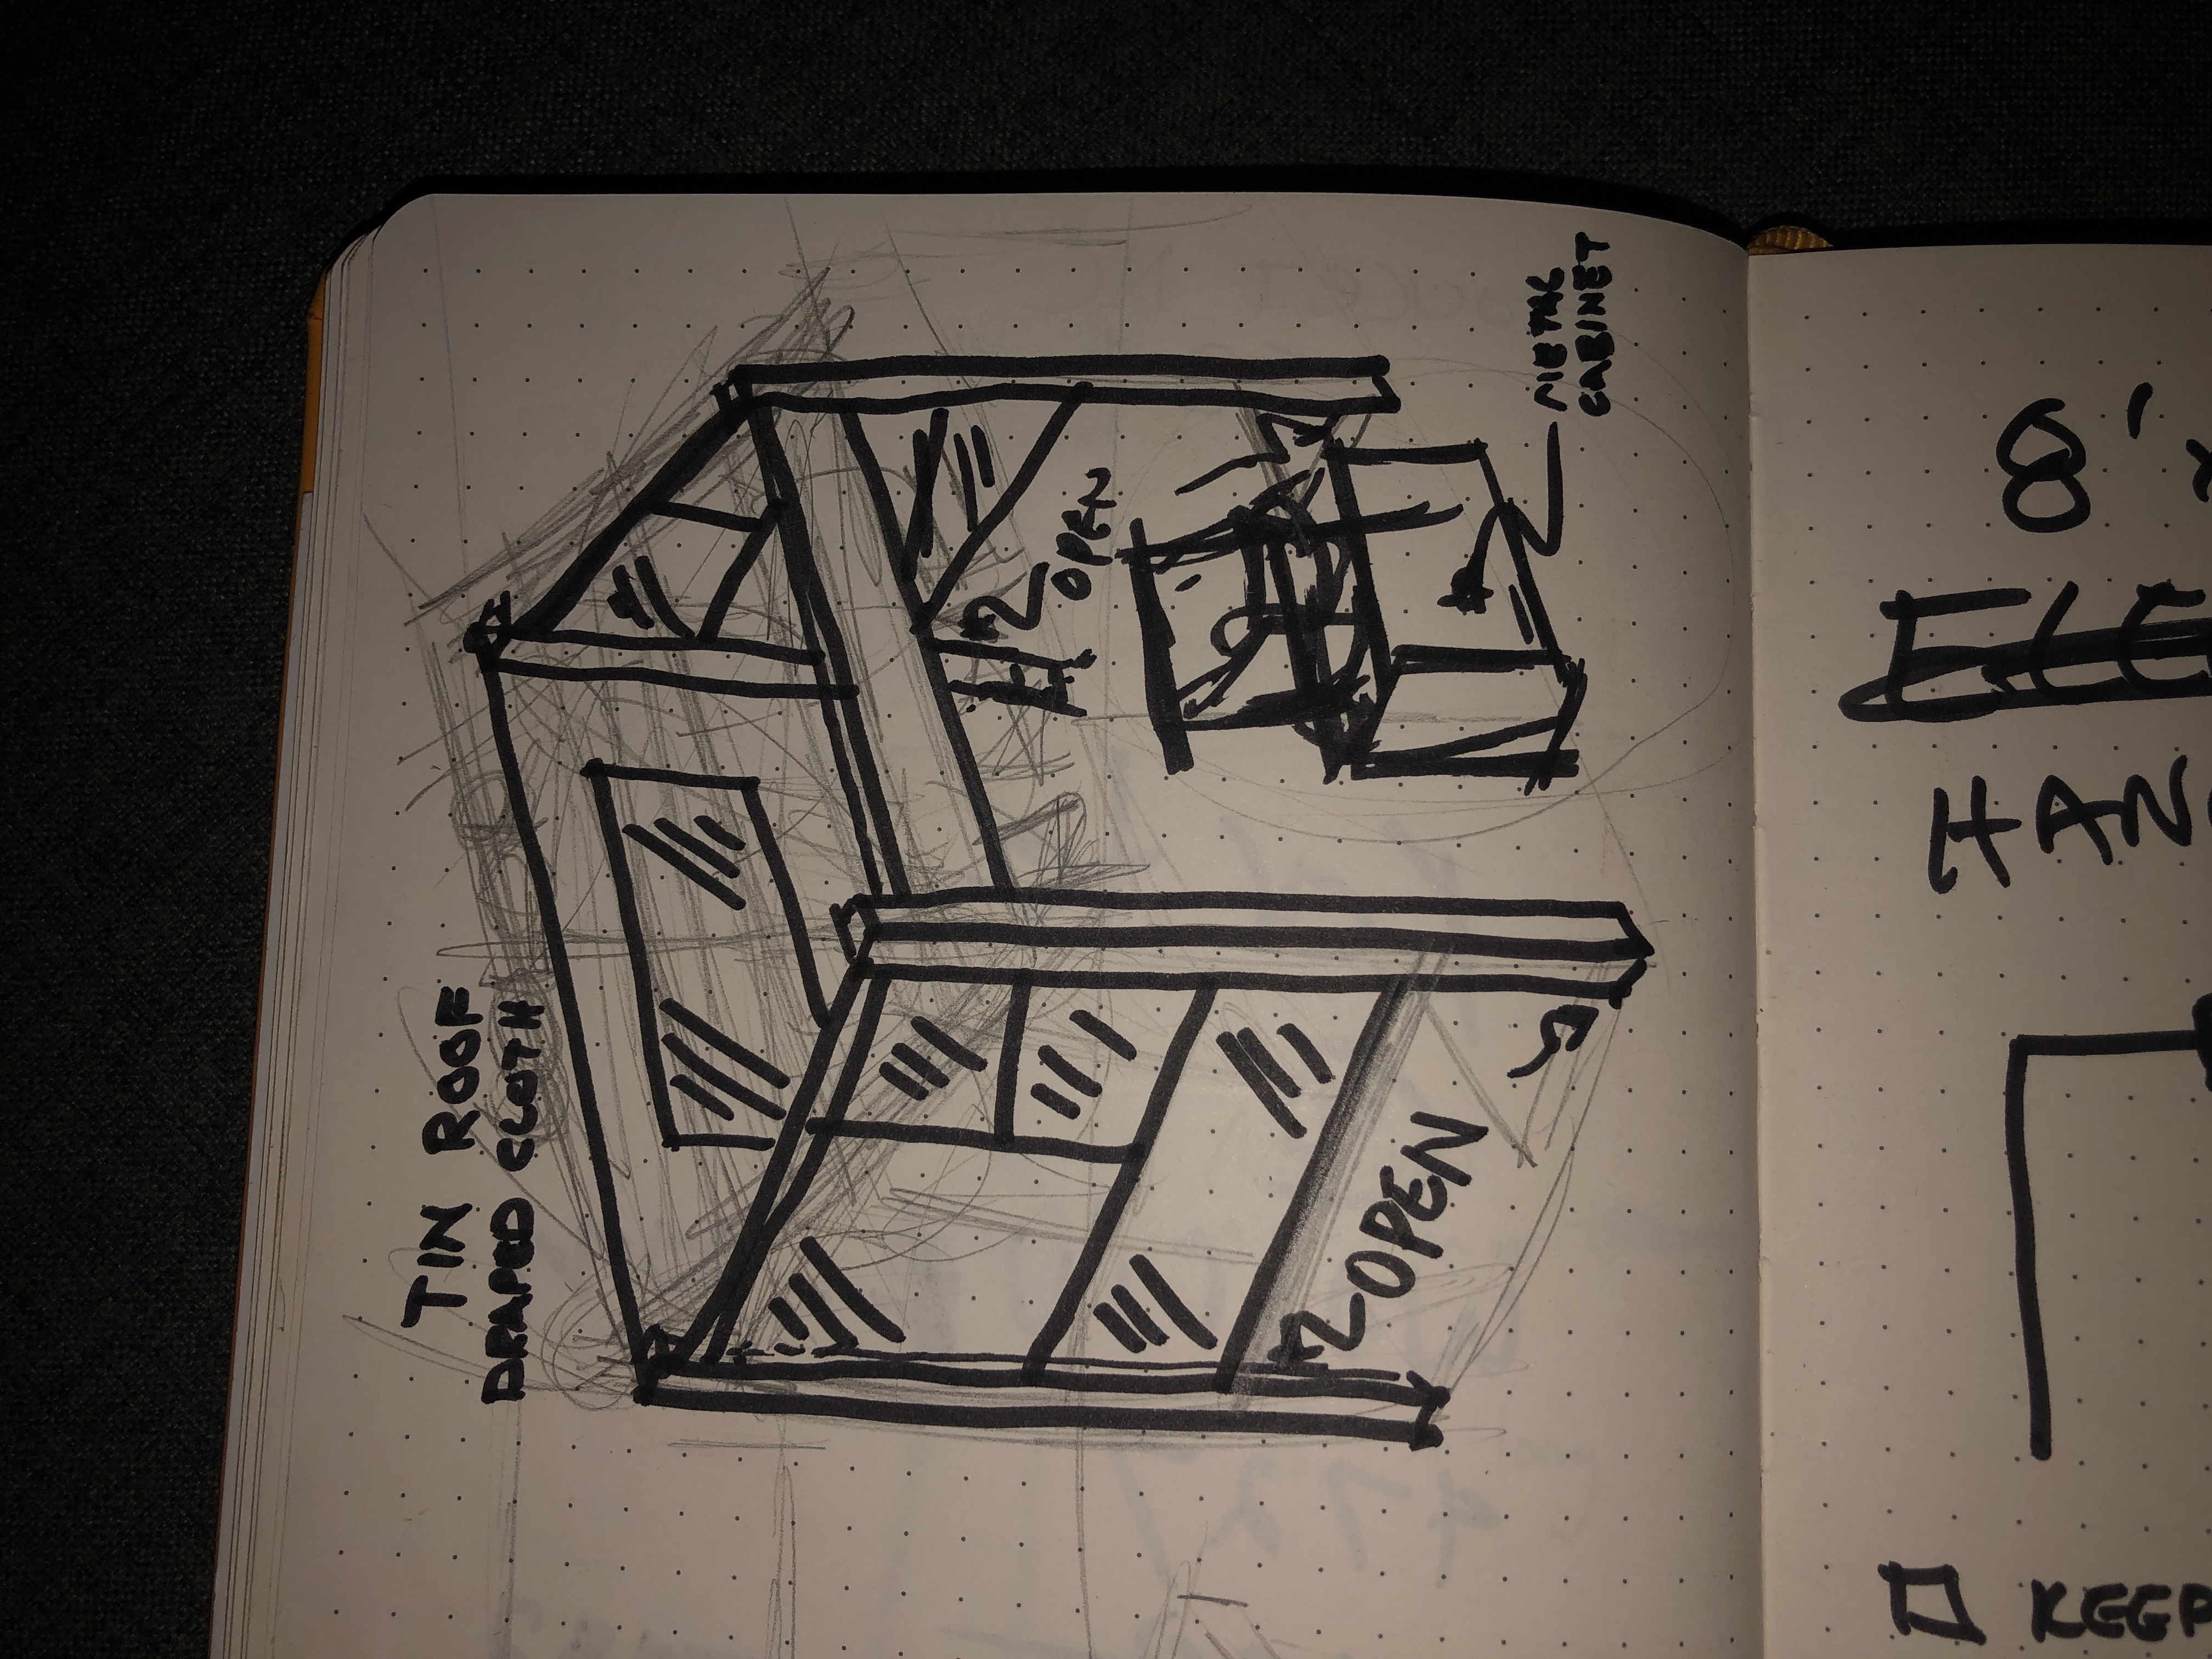
Another addition that can show a lot of detail quickly is using a 3D View. Like we did above, no need to get bogged down in details here. The simplest way to do this is to keep your vertical lines and the horizontal lines straight and any depth portions should keep the same angle. Again it does not have to be perfect. The sketch idea below is for a scrap bin to store small and large items and be able to roll around and move with wheels. The second one in the gallery is what we used to actually build it.
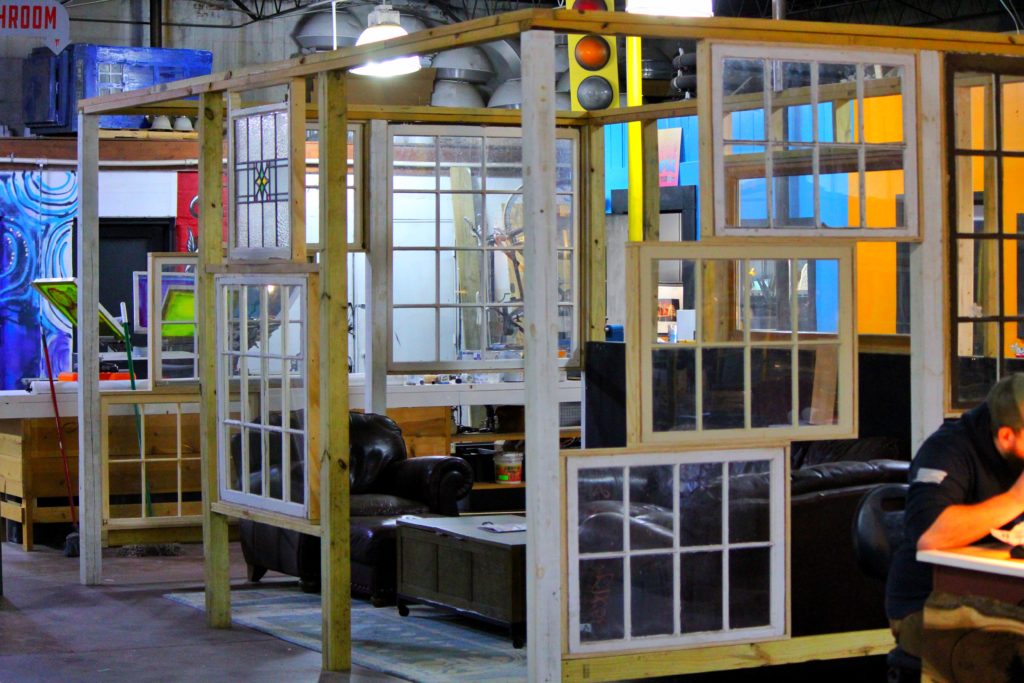
Here is another quick sketch, in a rough 3d view to explain the Portico at 757 Makerspace (left) and how it came together (right).
There are some great videos to learn about perspective drawing (vanishing point sketches, 1 point, 2 point and 3 point perspective). Check out these two and give it your best shot at applying to your project.
Shake It Up With A Little Creative Thinking
I am a big fan of switching things up, mostly for the sake of not getting stuck on an idea. Here are two creative thought breakers that you can use:
Reverse Sketch
Looking for a way to help figure out what you missed? Have the person you sketched this in front of draw it from scratch and talk through what they understood your concept as.
Doing this will give you a new appreciation for communication and it will make you look at the idea in a way you had not before.
Key things (I think of these four as design senses):
- Look at what lines they decided to draw that they feel are important.
- Listen to what they say as they sketch.
- (Touch) What are the materials you will be using to put this together? Write it down next to the sketch and point a line to every material.
- (Build) How are the parts and pieces going to be put together?
Substitute Sketch
Still working out some details or stuck on something? Try this last trick, substitute. What happens if you substitute your material or some key part with something else. How will it affect your design?
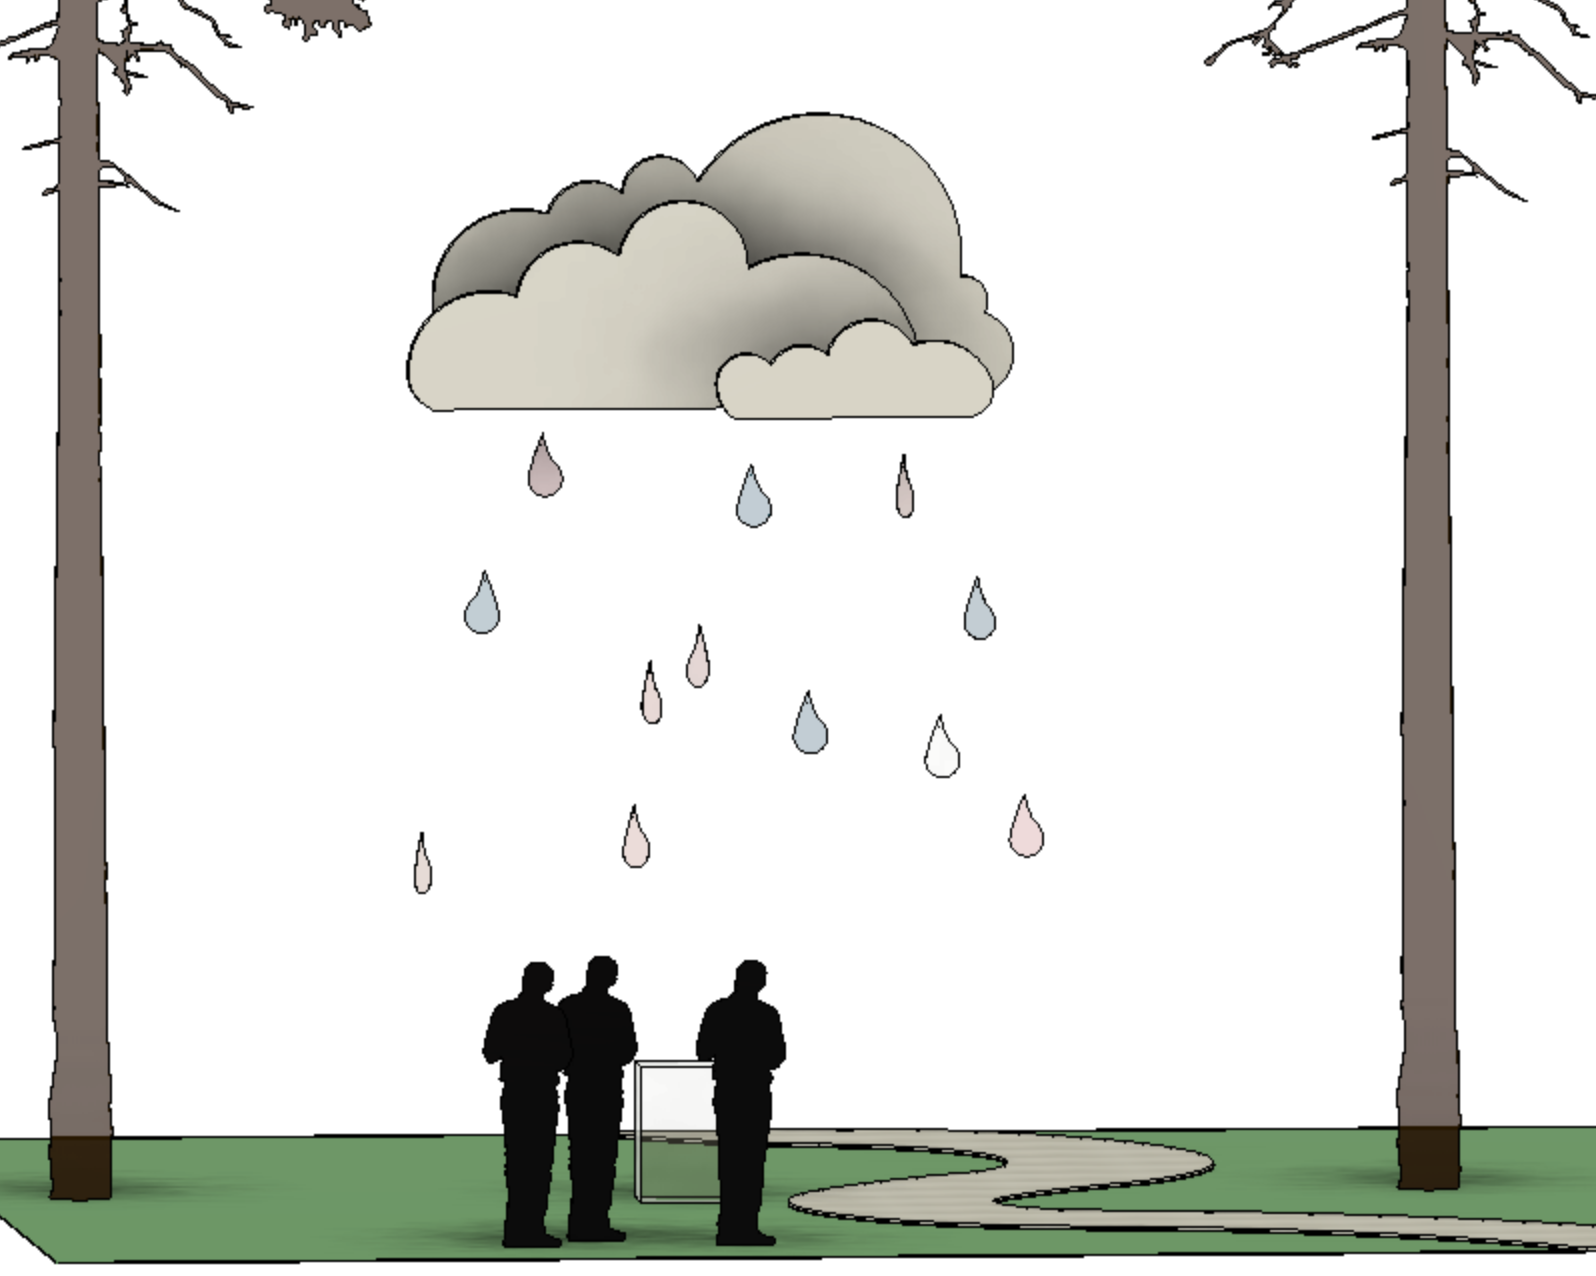
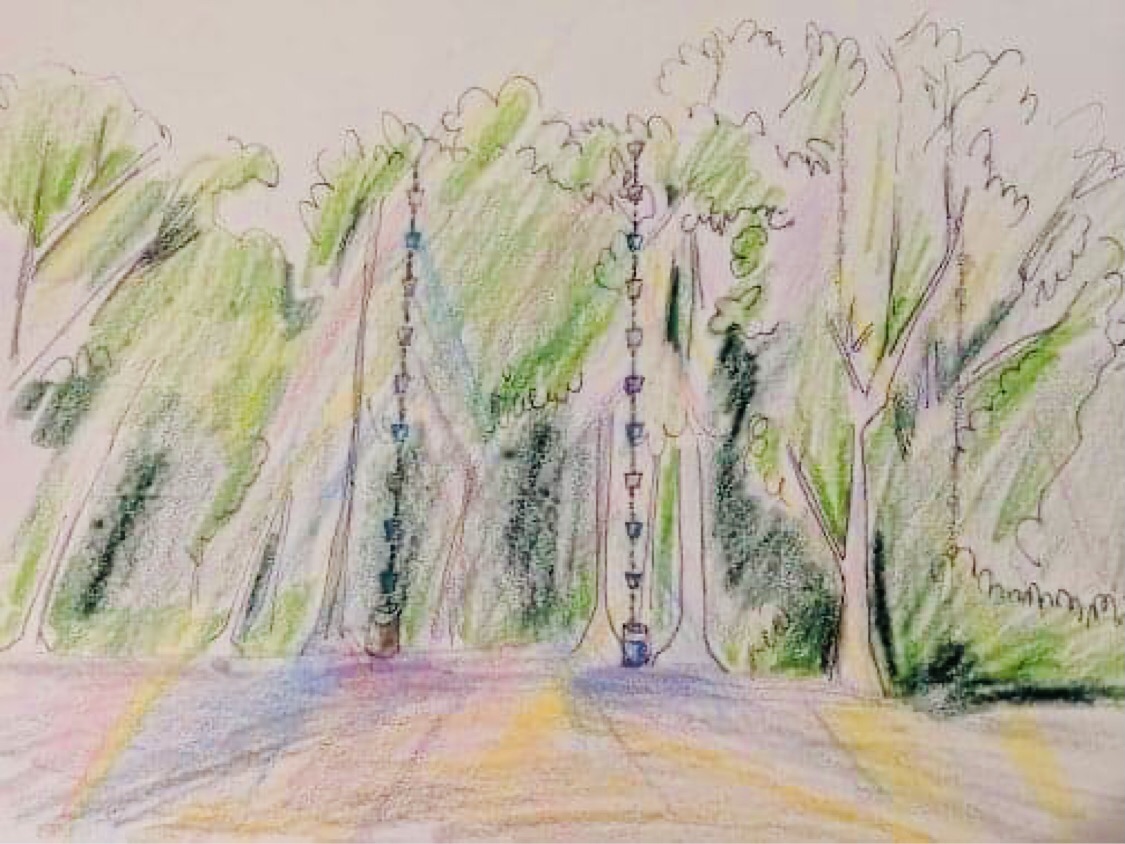
In Cristinas project, at the top with the cloud the first material was going to be suspended, heavy and use a brittle material. We substituted the idea of how it was going to be suspending (from the top) and substituted that with supporting it from the ground. How will it now stay up… you don’t have to stay on this topic more than five minutes but explore it.
Take a chance on this and after talking it out you will come up with a even better solution (or even a tweak to your first thought) that makes even more sense. Applying to this project, we went from hundreds of pounds to the entire thing less than 60lbs.
Final Thought
In all of these sketches we have never talked about making a mistake. We probably made a lot of them, in sketching it doesn’t matter. One easy thing is to draw lines on top of lines, and go darker as you get more confident or know what you want to keep will make it start to stand-out… and remember just need enough to convey the concept, work out the details you might be missing, and have some fun playing with your idea.
Stuck and need some help getting that out of your head on your own, schedule a meeting with us at 757 Makerspace and let’s work together to start making it real. As a member you have 24/7 to a giant creative warehouse workshop where you can make anything you want. Come join us and let’s make more AWESOME together! ❤️
Leave a Reply