Introduction to Digital Design
Digital design is not just a skill reserved for professionals; it’s a tool for hobbyists, educators, students, and anyone with a creative spark. With the advent of user-friendly platforms like Tinkercad, delving into the realm of digital design has never been easier. Tinkercad, a free online 3D design and modeling tool, opens a world of possibilities, allowing even beginners to transform their ideas into tangible creations.
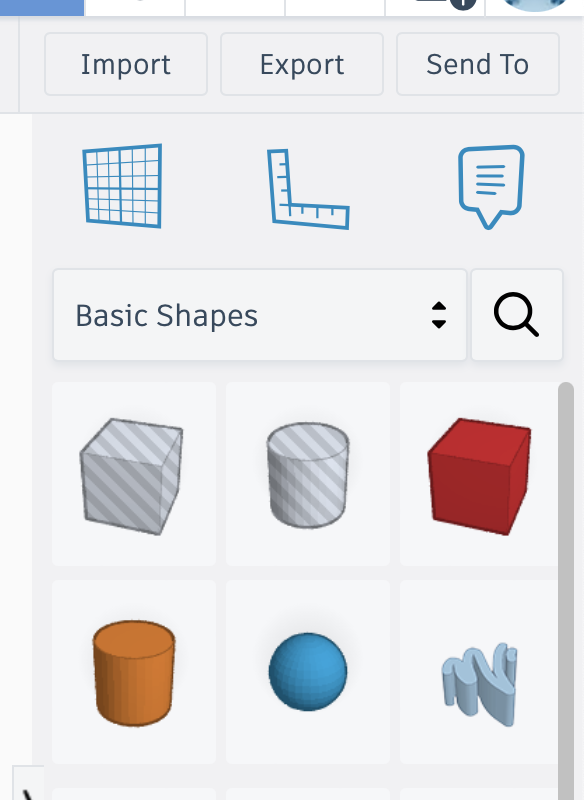
Getting Started with Tinkercad
Your journey into digital design begins with a simple step: setting up a Tinkercad account. Visit www.tinkercad.com, sign up for free, and you’re ready to start. Tinkercad’s interface is intuitive, making it perfect for beginners. It offers a variety of tools and shapes to play with, but for those interested in 2D designs, particularly for laser cutting, there are lots go great tools you can work with but our focus today is on the Scribble tool.
The Scribble Feature in Tinkercad
The Scribble tool is a unique feature within Tinkercad that allows users to draw freeform shapes. This tool breaks the limitations of predefined shapes, giving you the freedom to create complex and personalized designs. Whether you’re designing intricate patterns, text, or custom artwork, the Scribble tool translates your hand-drawn sketches into precise digital formats.
Designing Your First 2D Project
Let’s create your first 2D design. Select the Scribble tool from the right-hand menu and start drawing your design. It could be anything from a simple heart to a more complex geometric pattern.
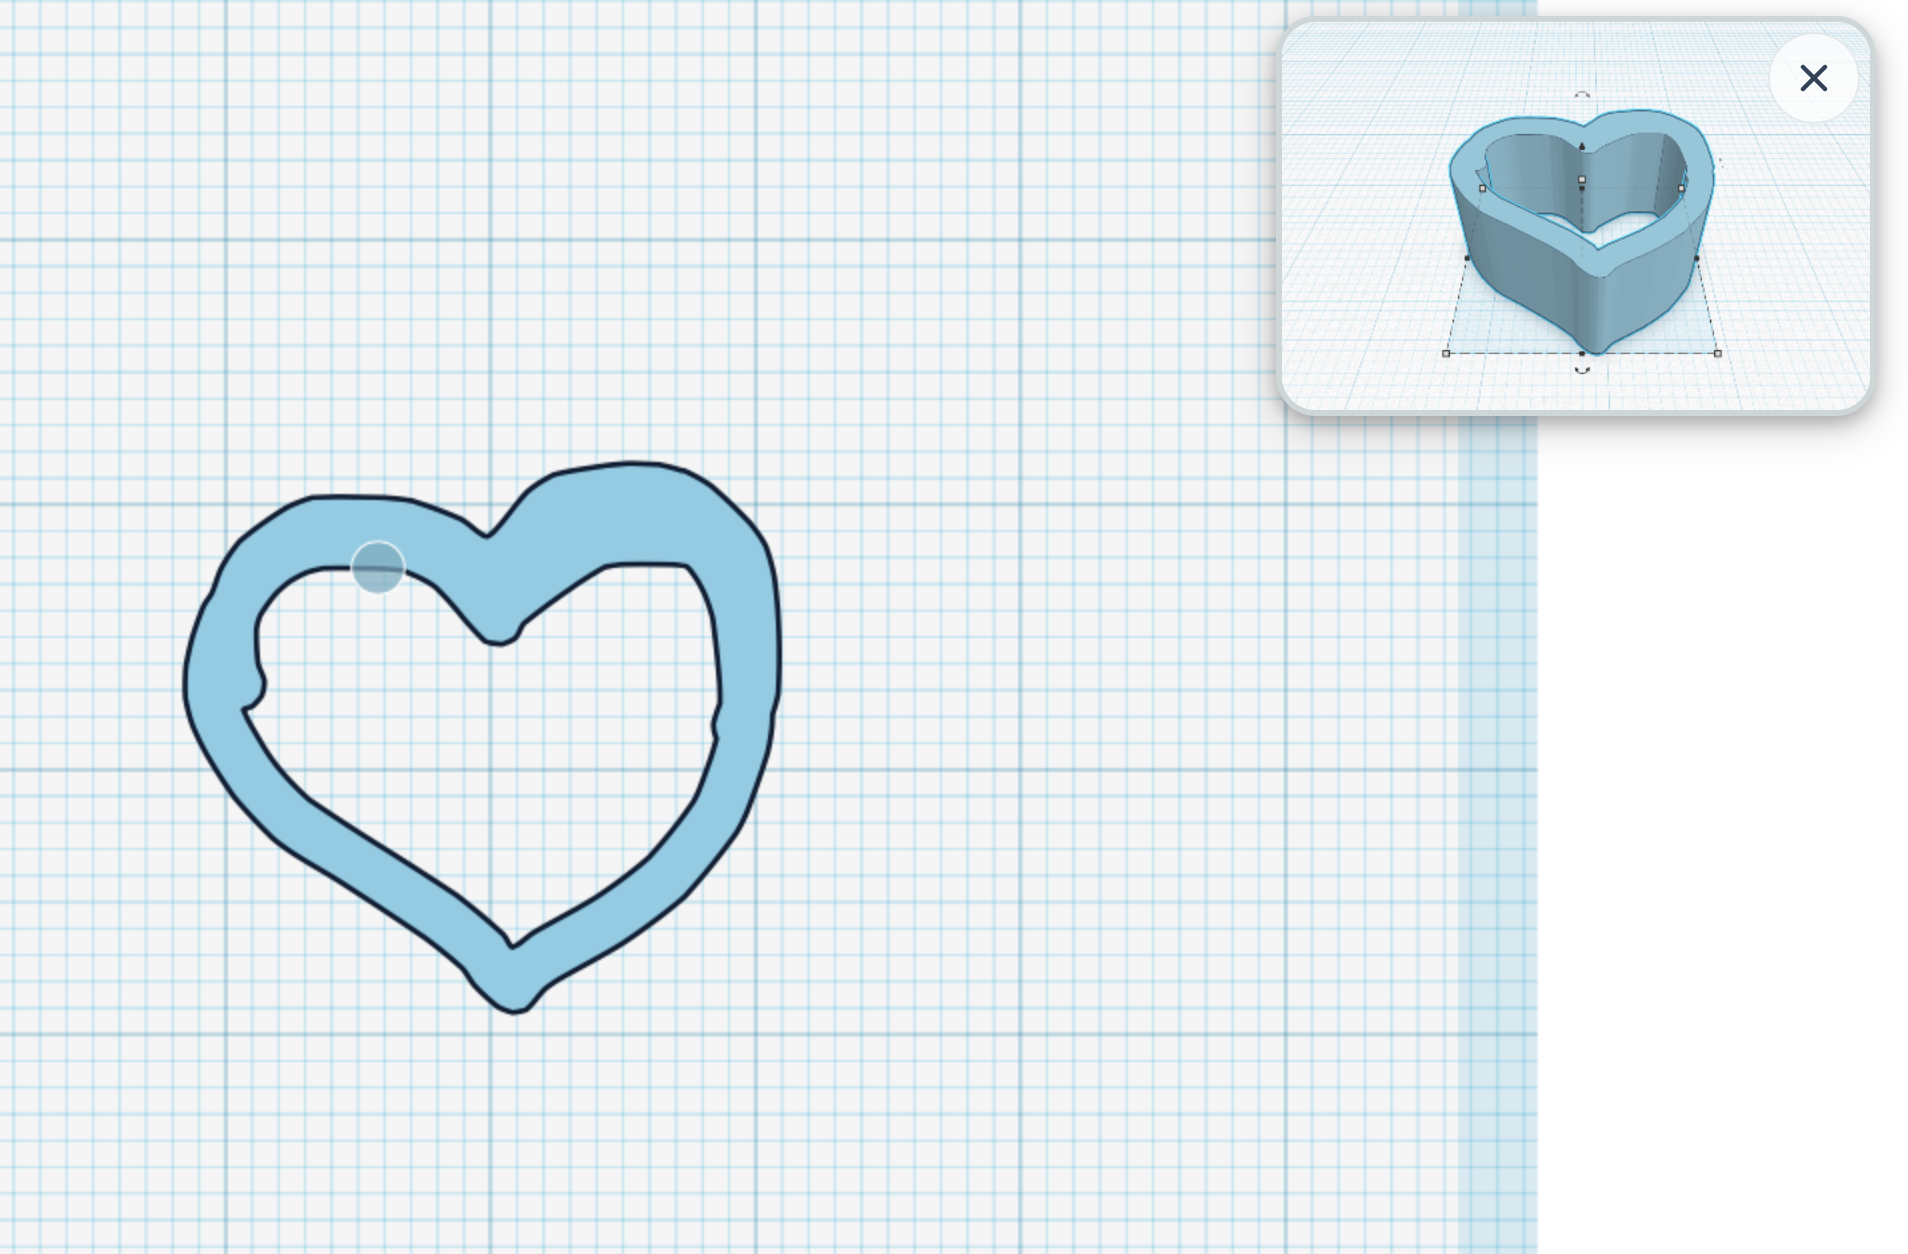
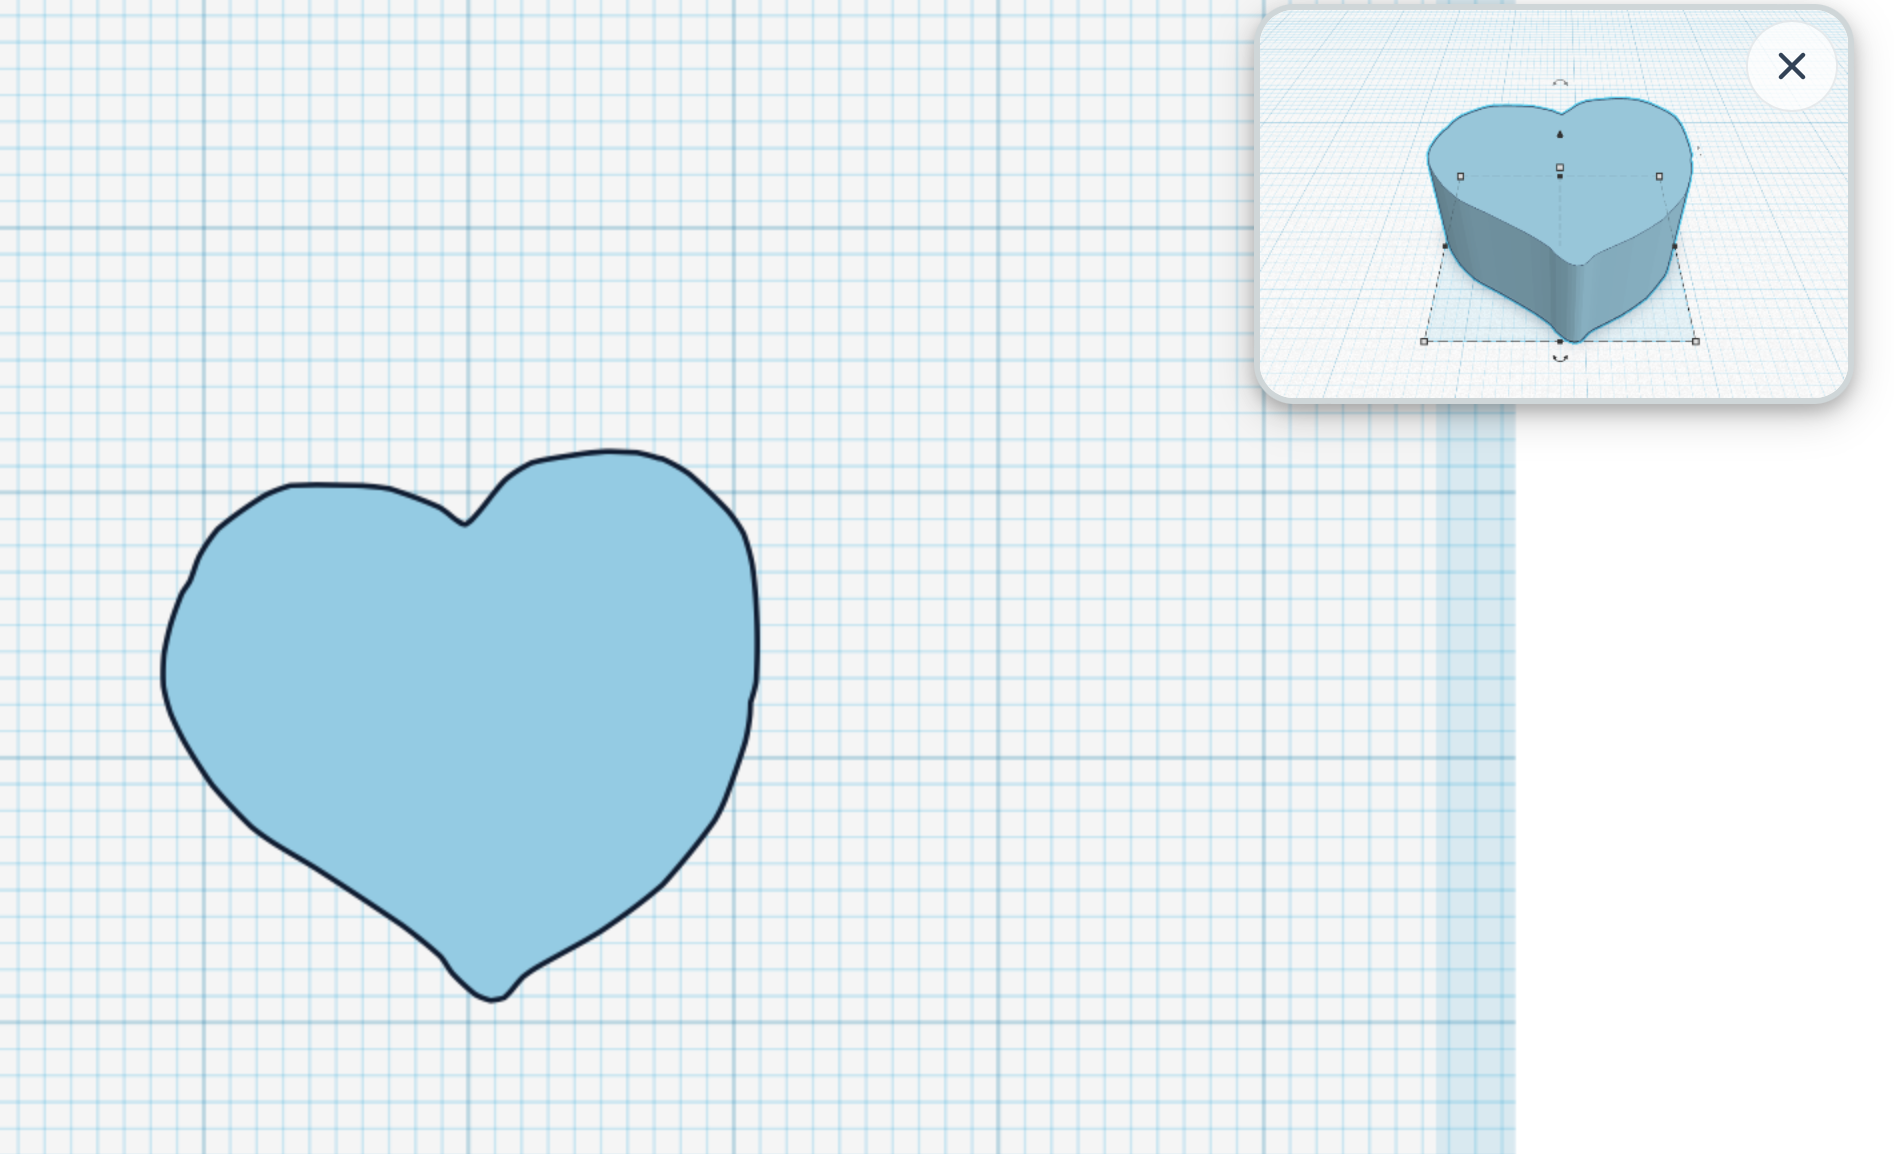
The key here is to experiment. Remember, your design needs to be laser-cutter friendly, so avoid overly intricate details that might not translate well into physical form. The shape above when we closed the shape, it left a hollow section that would drop out (check-out the 3d view in the upper right). You can keep drawing inside to fill this area like below:
Understanding the Workplane in Tinkercad
Before diving deeper into the design process, it’s crucial to understand the concept of the workplane in Tinkercad. The workplane is essentially your virtual canvas; it’s where your design comes to life. In Tinkercad, when you start a new design, the workplane is the flat grid that you see on the screen.
For designs intended for laser cutting, it’s vital that your model or scribble intersects with the workplane. This intersection ensures that your design is perfectly aligned and flat, which is essential for the laser cutting process. When a design doesn’t properly intersect with the workplane, it might result in incomplete or inaccurate cuts.
To ensure your design intersects with the workplane:
- Place Your Design on the Workplane: Drag your scribble or model onto the workplane. You can use the arrow keys for finer control over the positioning.
- Check for Intersection: Rotate your view to ensure that your design sits flush against the workplane. There should be no gaps or parts floating above or below the workplane.
- Adjust if Necessary: If your design isn’t intersecting correctly, use the adjustment tools in Tinkercad to lower or raise it until it aligns perfectly with the workplane.
Remember, the workplane is not just a design space; it’s a reference point that ensures your digital design translates correctly into the physical world, especially for precision-dependent processes like laser cutting.
Preparing Your Design for Laser Cutting
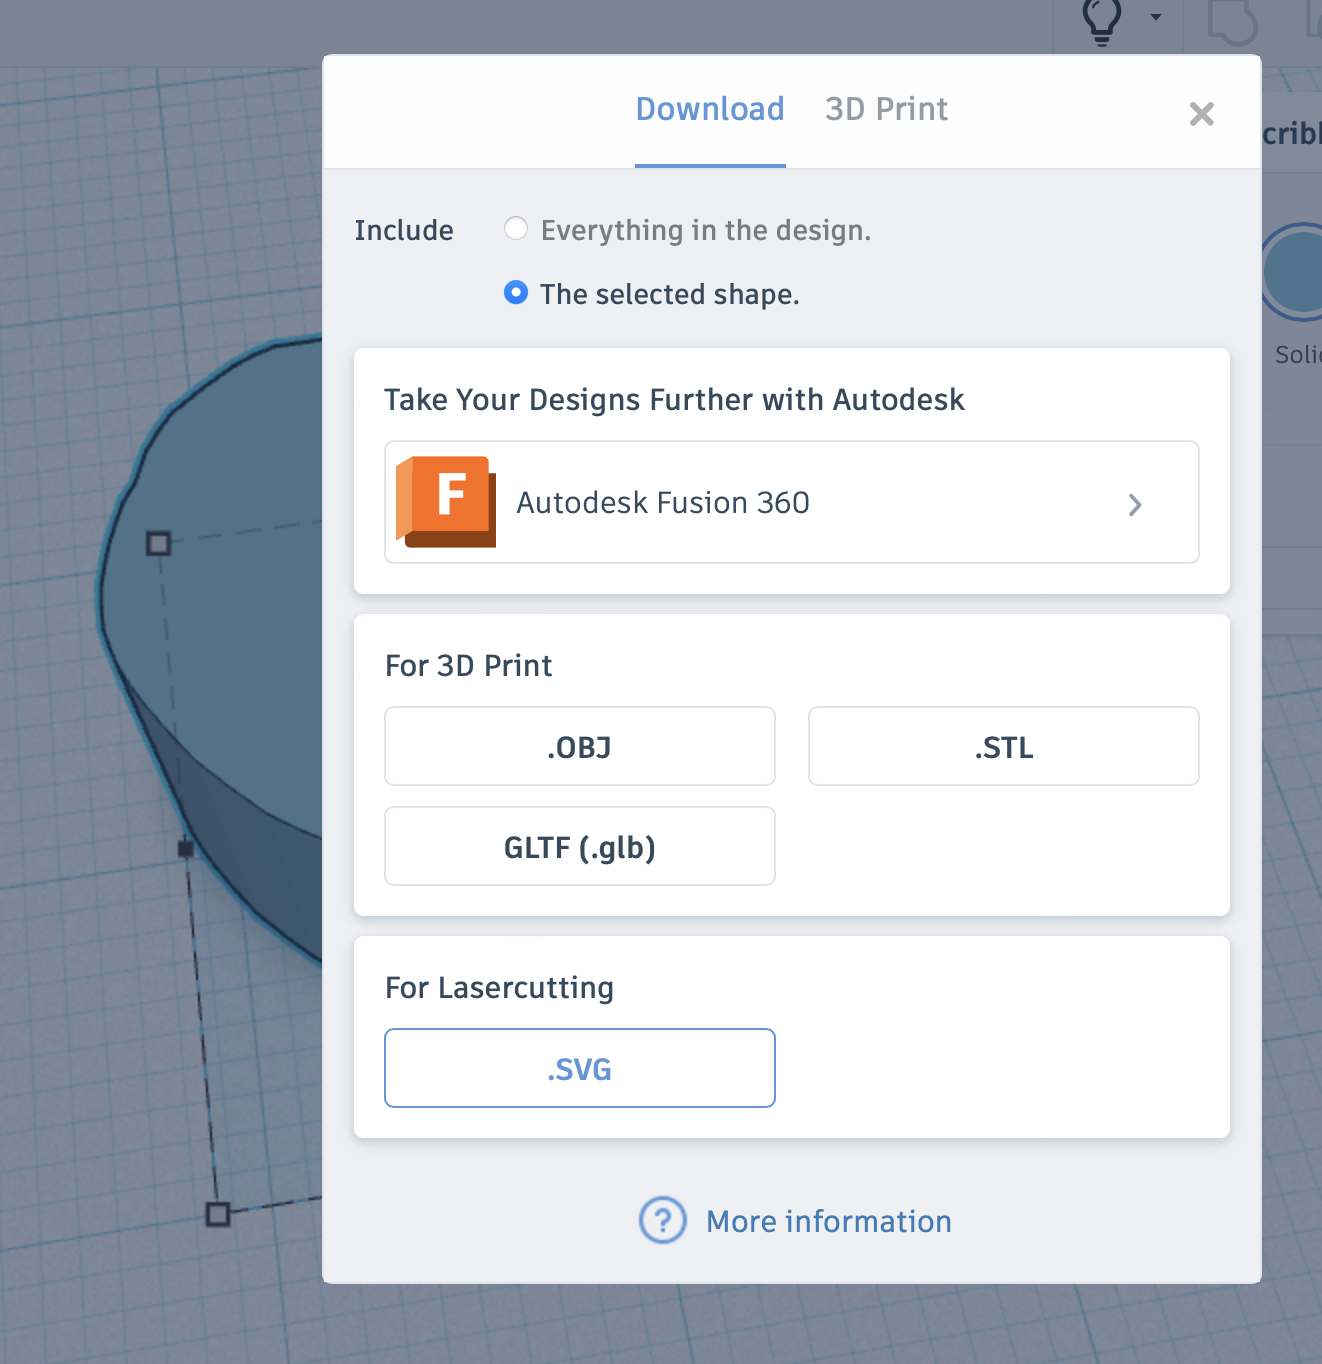
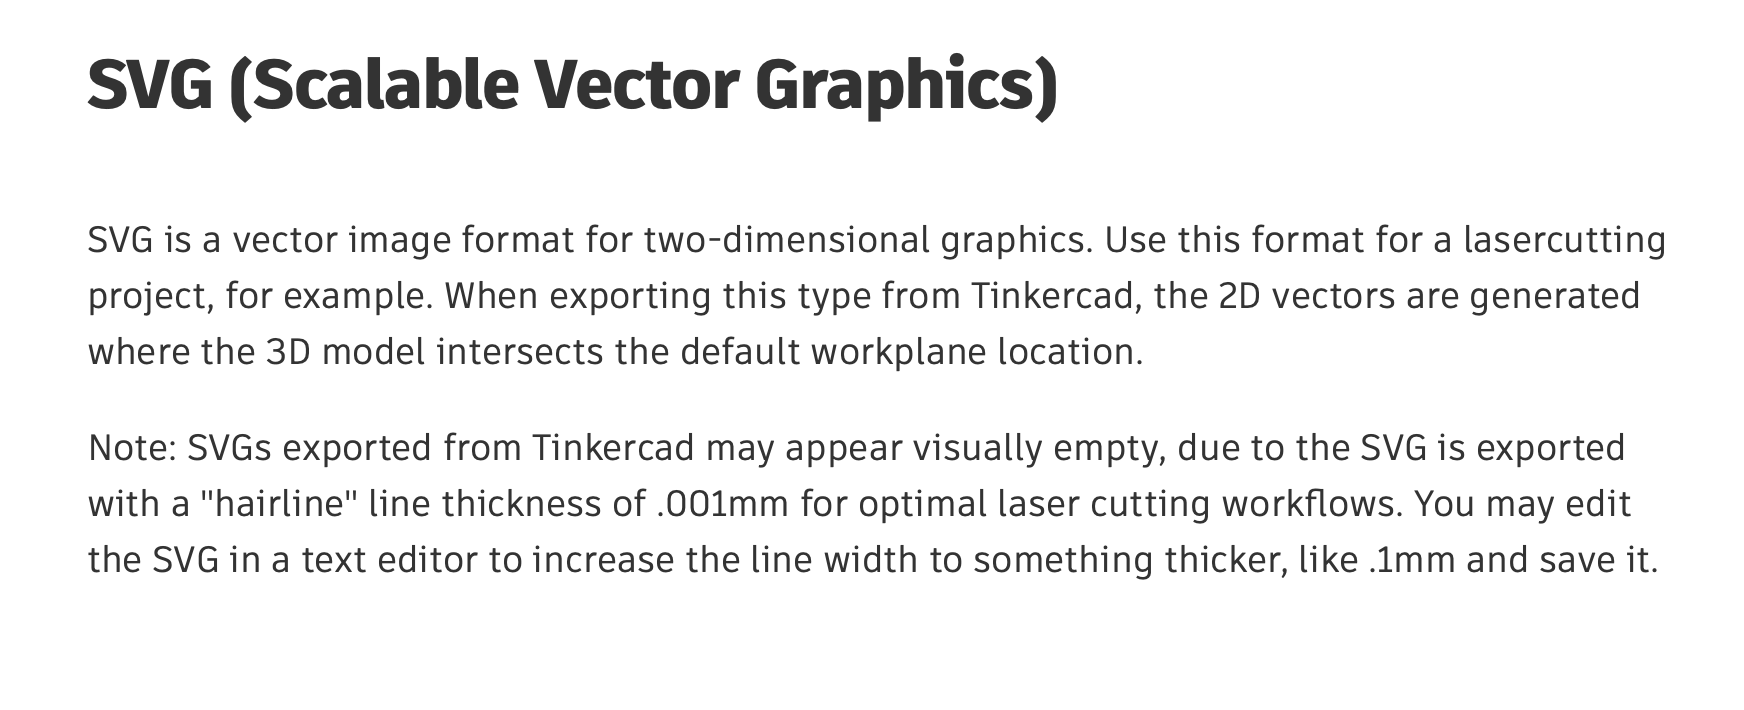
Once your design is ready, it needs to be prepared for laser cutting. This involves converting your Tinkercad design into a file format that laser cutters can read (we’ll use SVG in our workflow). Tinkercad allows you to export your designs in these formats easily. When preparing your design, consider the material you will be using for laser cutting – different materials have different properties and might affect the final outcome.
From Digital to Physical: The Laser Cutting Process
Understanding the basics of laser cutting can help you design more effectively. Laser cutting involves using a laser to cut or engrave materials. It’s precise, allowing for detailed and accurate cuts. When your digital design is fed into a laser cutter, it uses your design as a guide to create an exact physical replica in the material of your choice.
Project Ideas and Inspiration
As a beginner, simple projects like keychains, coasters, or basic geometric shapes are great starting points. These projects allow you to understand the process from design to physical product without overwhelming you with complexity. Once comfortable, you can move on to more intricate designs.
Challenges and Troubleshooting
Like any new skill, you might face challenges while learning digital design and laser cutting. Common issues include designs not translating well into physical form or materials not reacting as expected under the laser. Engaging with Tinkercad’s community forums, seeking advice, and practicing will help you overcome these hurdles.
Advancing Your Skills
After mastering basic designs, you might want to explore more complex projects or even other digital design tools. Continuously learning and experimenting with different designs, materials, and techniques is key to advancing your skills in digital design.
Conclusion
The journey from a simple scribble in Tinkercad to a laser-cut masterpiece is not just about creating something tangible. It’s about unleashing your creativity, learning a new skill, and seeing your ideas come to life. With Tinkercad’s Scribble tool, the world of digital design is at your fingertips, and the possibilities are endless.
Leave a Reply